RSS Feed

Posts Tagged ‘tools’

  1. Conservation Conversations // Tools of the Trade

    March 19, 2015 by Athena Moore

    As anyone who works with their hands can attest, tools are the key to good work. They also happen to be one of the most satisfying to seek out, collect, and choose favorites from.

    Nearly all tools used by conservators will be easily recognized by bookbinders and are particularly suited to their respective tasks.

    IMG_8583

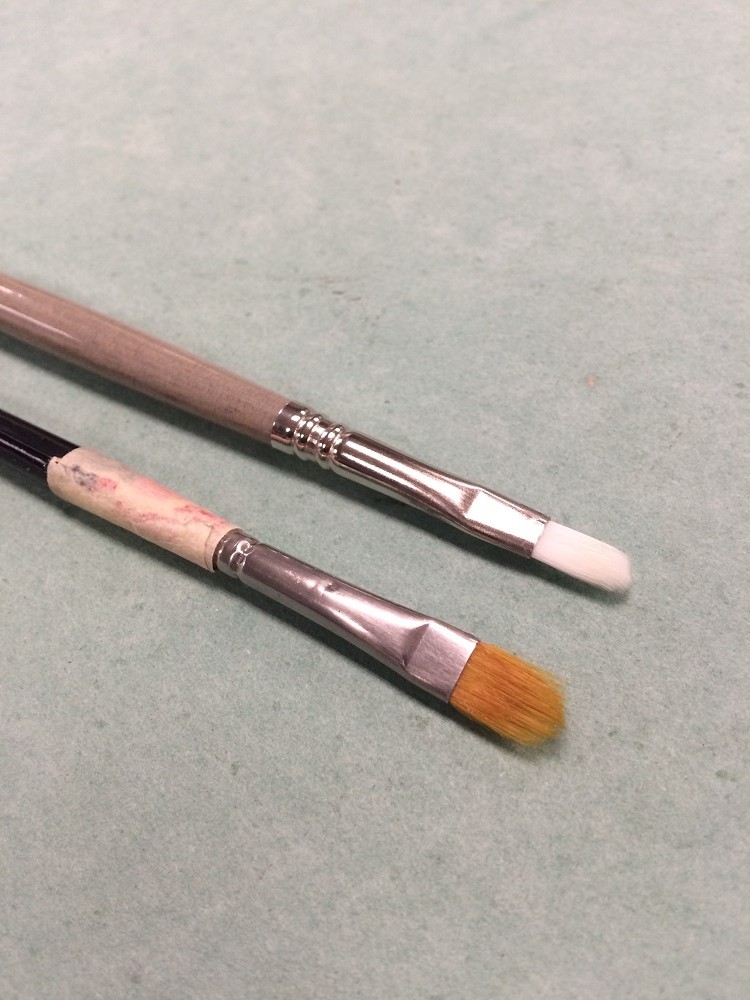
    First, there are brushes:

    IMG_8571

    IMG_8573

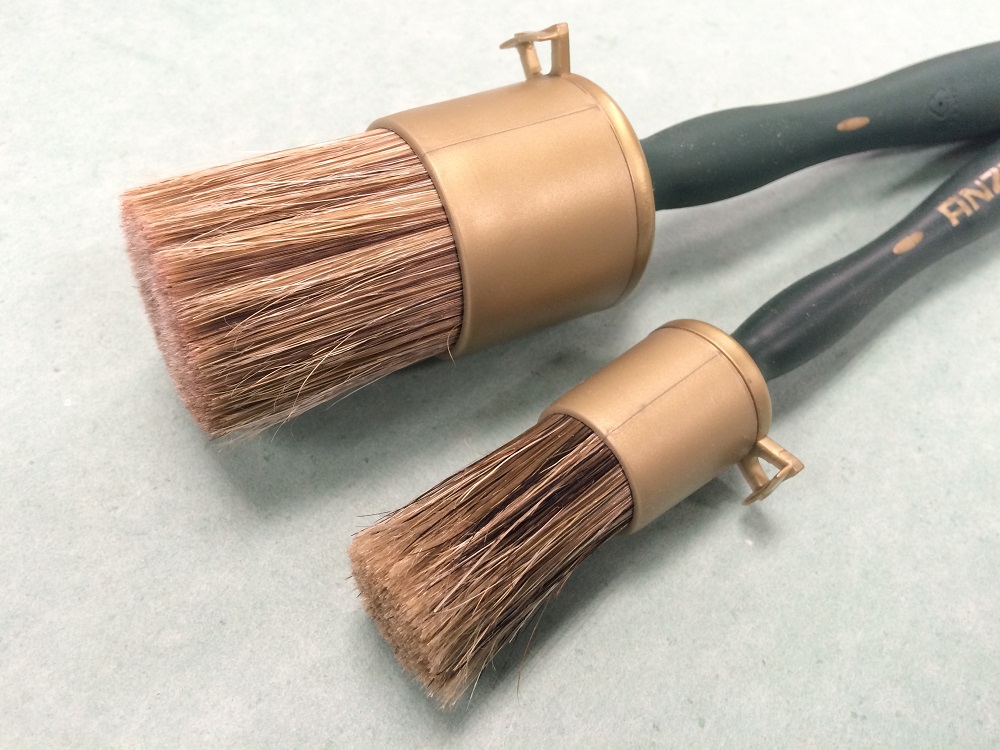
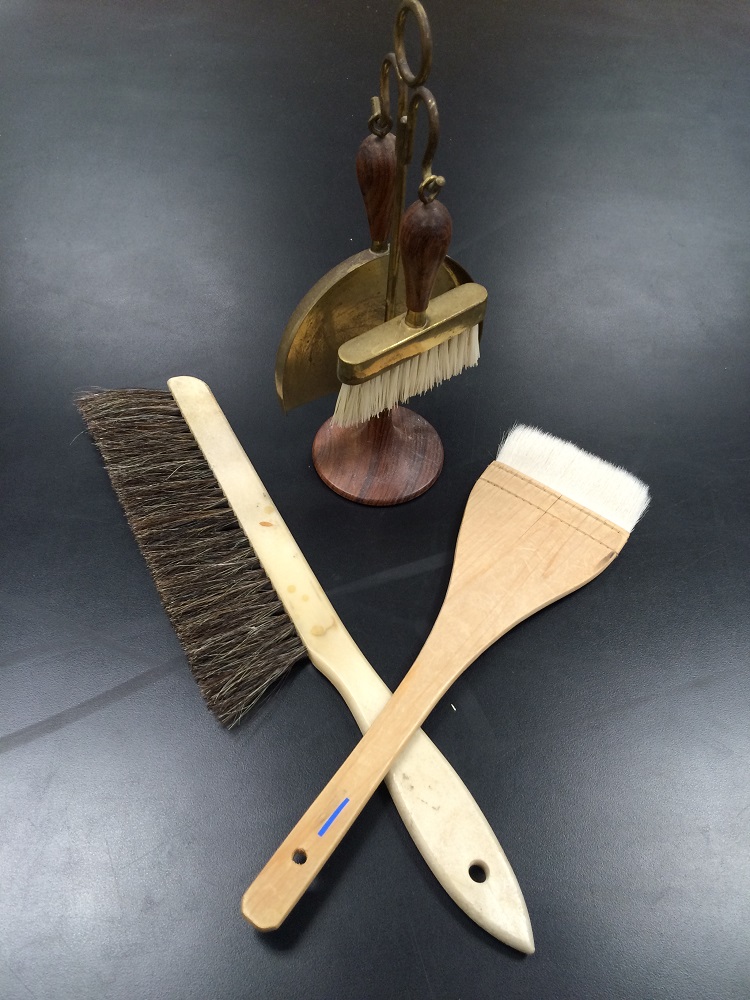
    We use them every day: to adhere materials, to tone cloth and Japanese paper, to apply water strategically or smooth out fibers on a bit of tissue. For PVA and mix I really love using round Anza brushes (second image) and for paste, especially detailed mending, I go for any kind of flat filbert. Toning brushes are one-purpose too, since the risk of them being a tad dirty is always there. We use über beautiful Japanese brushes to apply size and tamp down linings (they’re fairly expensive so we share one large, very nice set). Static-dissipating brushes are used to clean dust from surfaces, hake brushes to remove loose material from bindings, and this clever little guy in the stand is used to pick up all the debris that gets caught in my bench corners (turns out, his true purpose is to clear away baguette crumbs!).

    IMG_8584

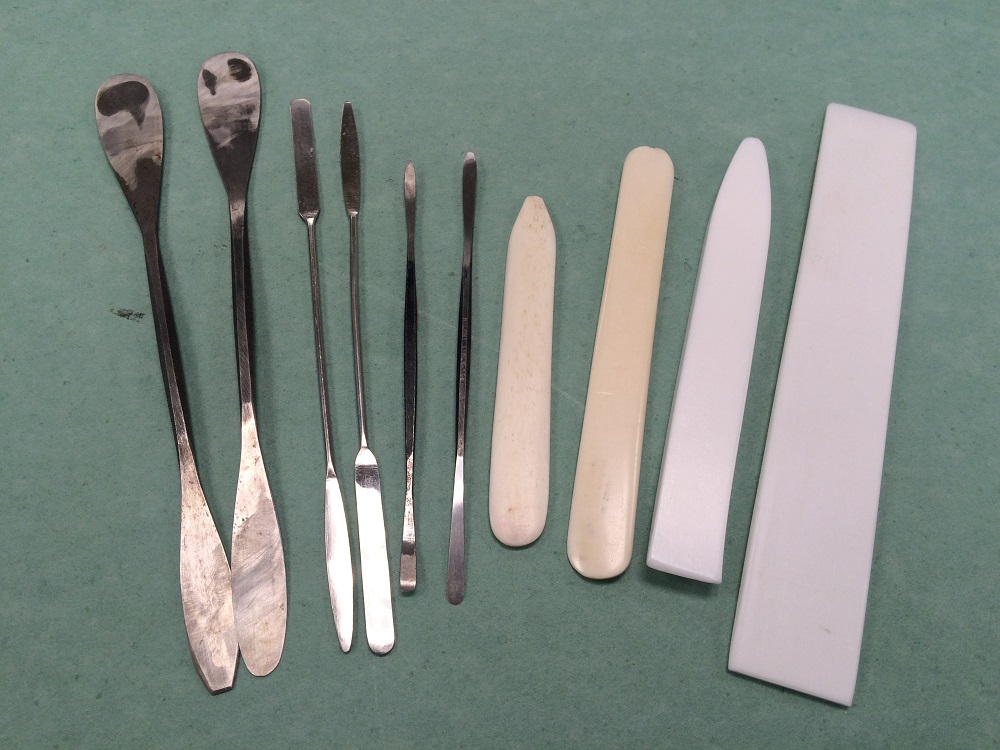
    Two other forms of tool that I find myself having quite a few of and utilizing pretty much every day are folders and spatulas.

    IMG_8577

    In my personal studio I have probably more bone folders than any other single tool, but at work I show more restraint. A bone folder with a point is useful for scoring lines and forming endcaps, while a nice flat bone folder is great for creasing sections or consolidating a spine. Teflon folders come in handy when smoothness is key or there’s concern over too much burnishing. A flat, super thin Teflon folder is especially good for floating material apart in a bath or removing adhesive with local humidification (be super careful if you choose to shape your own Teflon folders – breathing in the dust is dangerous!).

    Spatulas are a must. Stainless steel ones are great for working with wet materials, since there’s no risk of rusting and the edges are duller and therefore less likely to tear through potentially fragile paper. Casselli spatulas can be used to remove dry adhesive or accretions, to separate uncut pages when necessary, or to carefully unfold corners and edges. The large ones can easily be shaped (and re-sharpened!) to your preference on a sharpening stone and come in handy for muscling tough spine glue off.

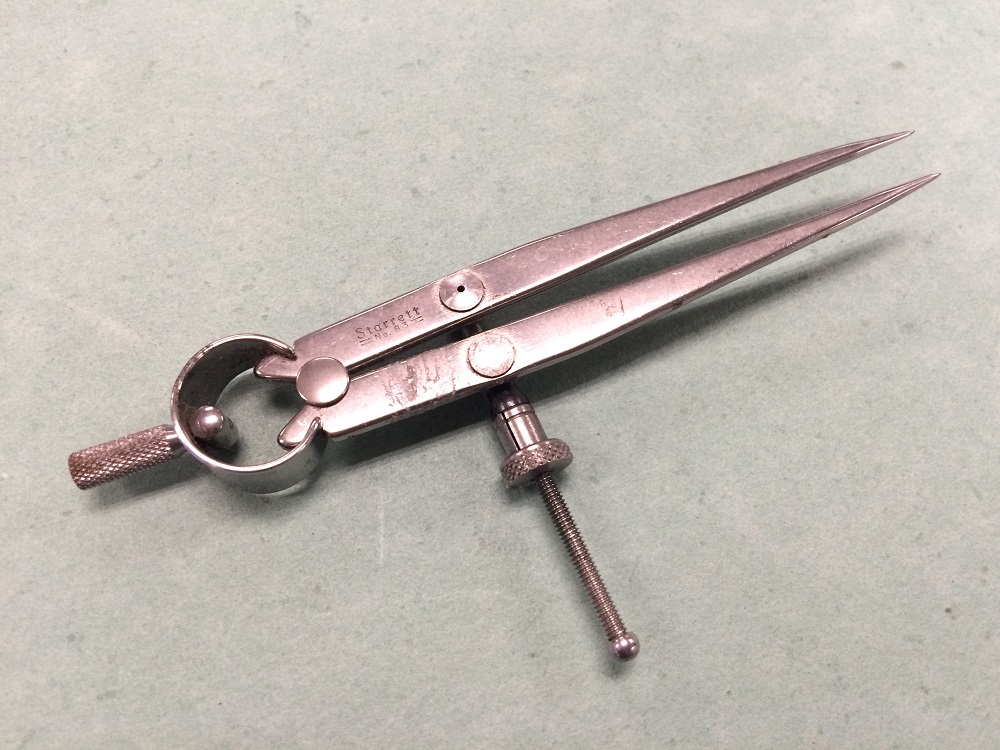
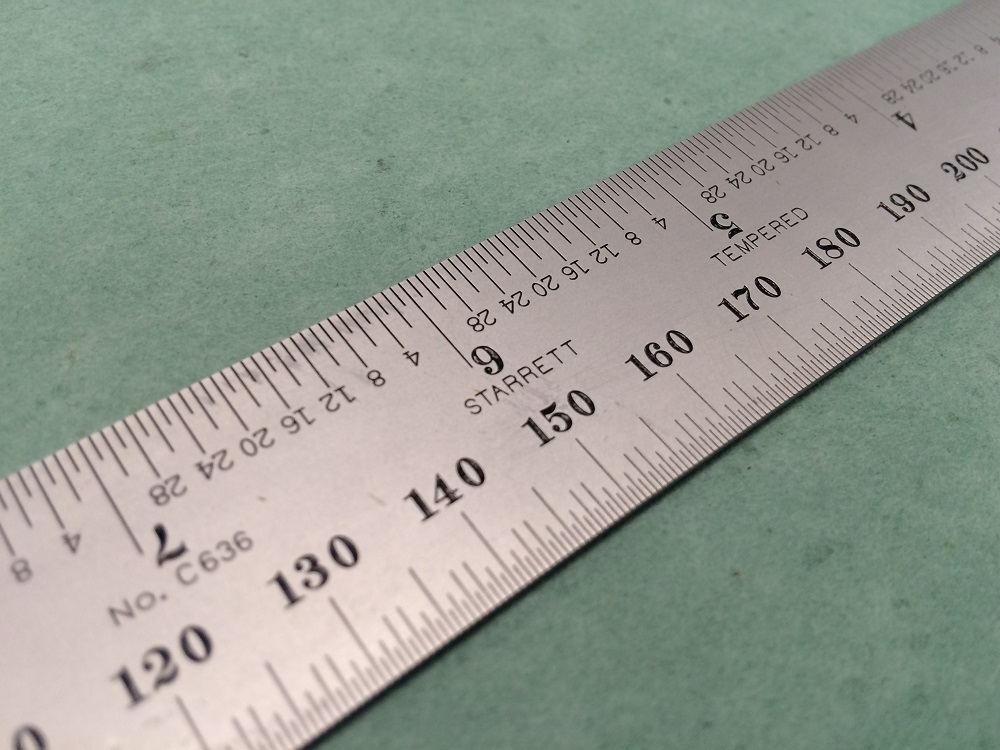
    Some tools are not only super handy, but also super beautiful (thanks, Starrett).

    IMG_8574

    Best for taking and transferring measurements…

    IMG_8581

    …and for actually measuring with numbers, obviously.

    IMG_8599

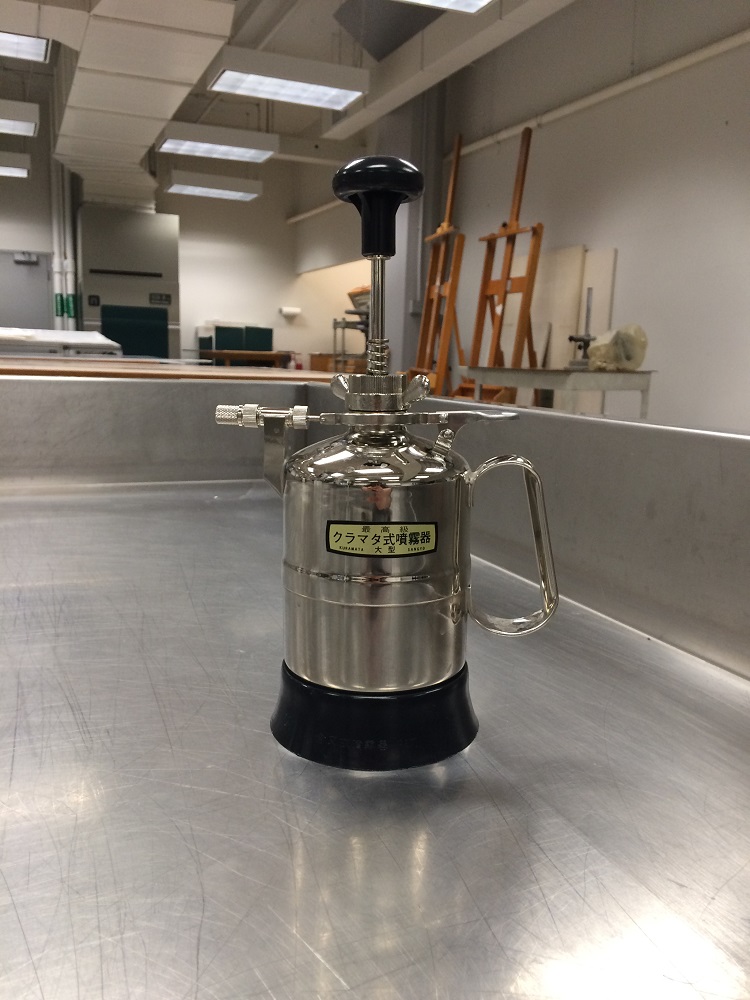
    Dahlia sprayers are the absolute best for spraying out an object for humidification!

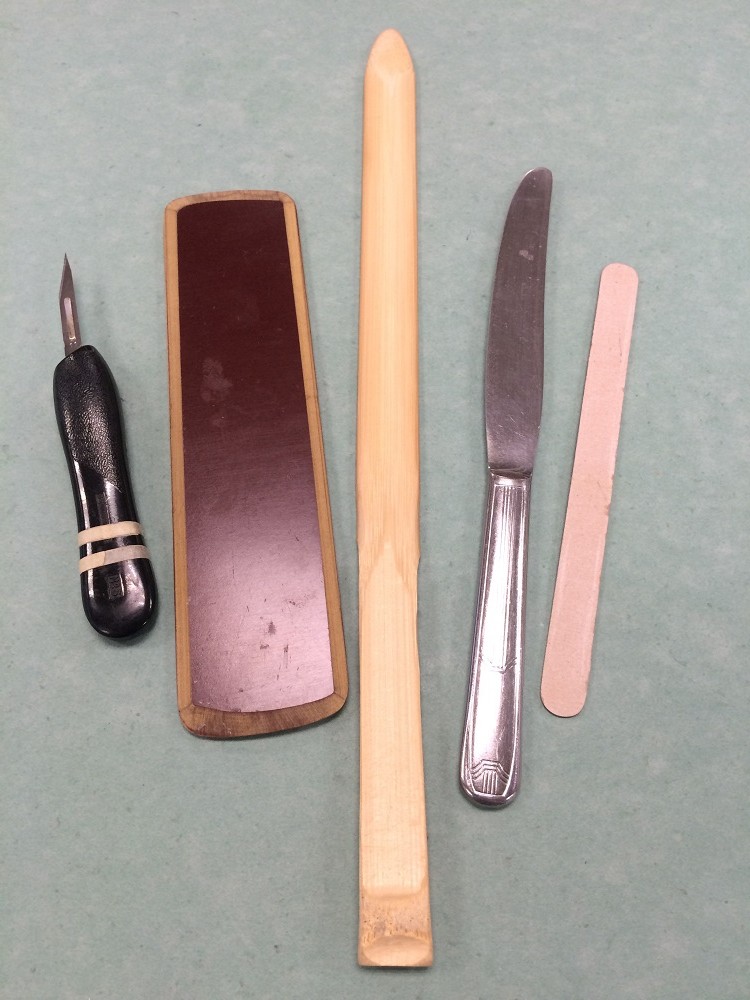
    Some tools seem to be suited for something else entirely:

    IMG_8578

    Scalpels are great for cutting previous sewing or paring edges of leather or paper, Bakelite folders are especially good for securing cloth around board edges, the bamboo comes in handy when separating sized leaves and folios from Hollytex safely, the butter knife makes an excellent cord-frayer, and the nail file is a handy little sander.

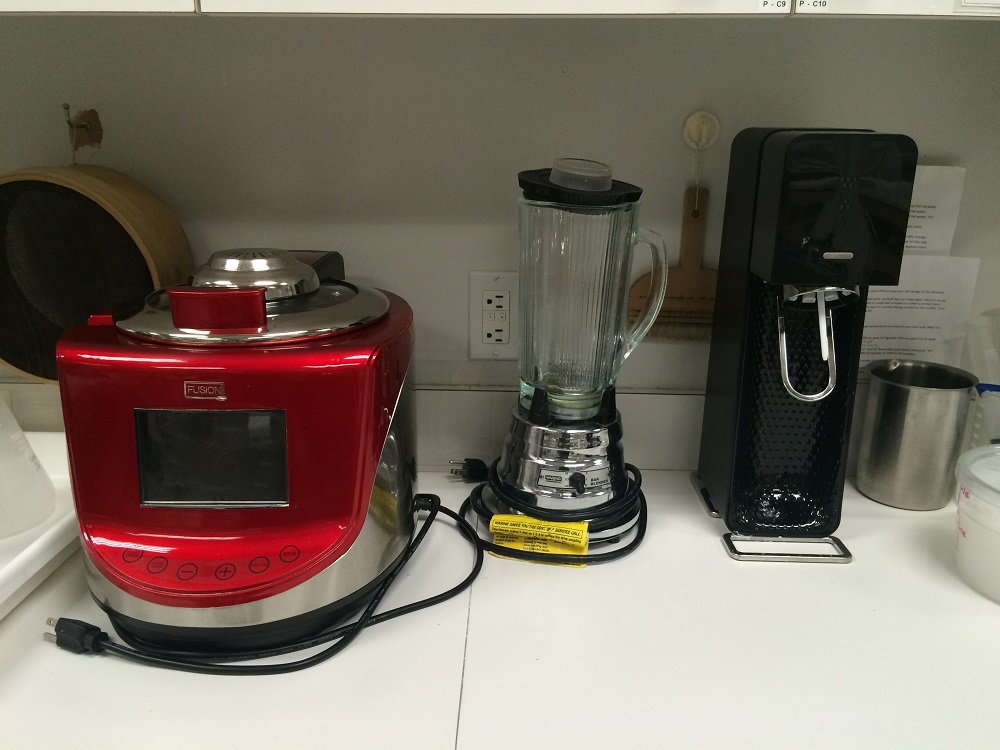
    Some tools and equipment appear to be better suited to a kitchen…

    IMG_8597

    From left to right, we have a fry stirring wok for making paste, blender for thinning paste, and SodaStream for iron gall phytate treatment.

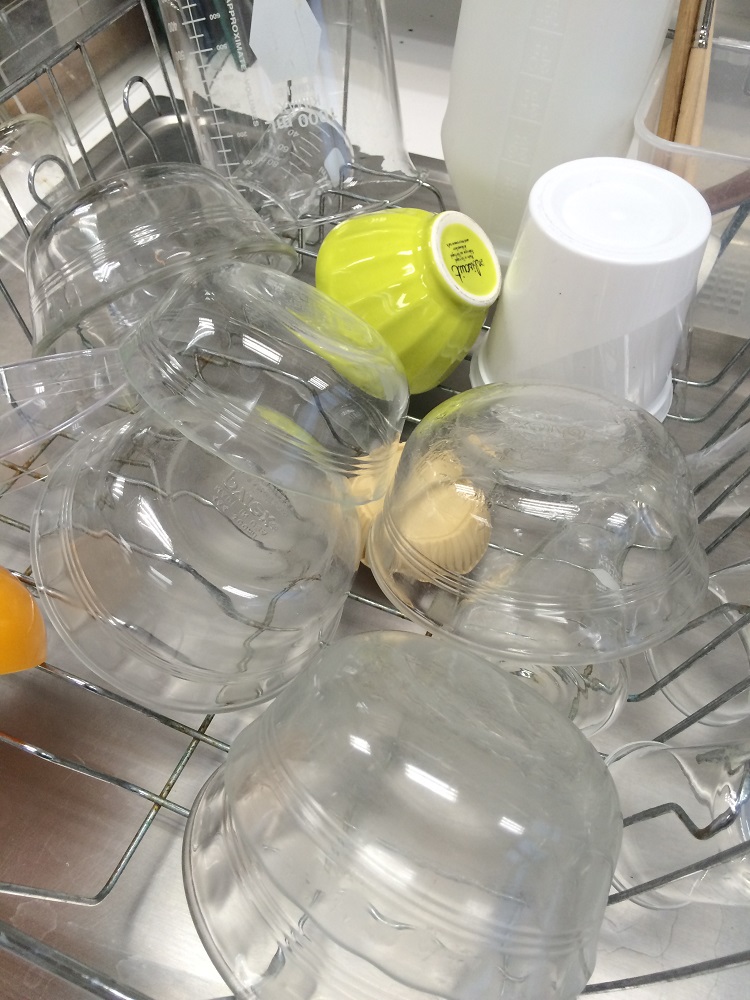
    IMG_8588

    And the ever-present Pyrex custard dish, used for basically everything – predominantly paste, in our case.

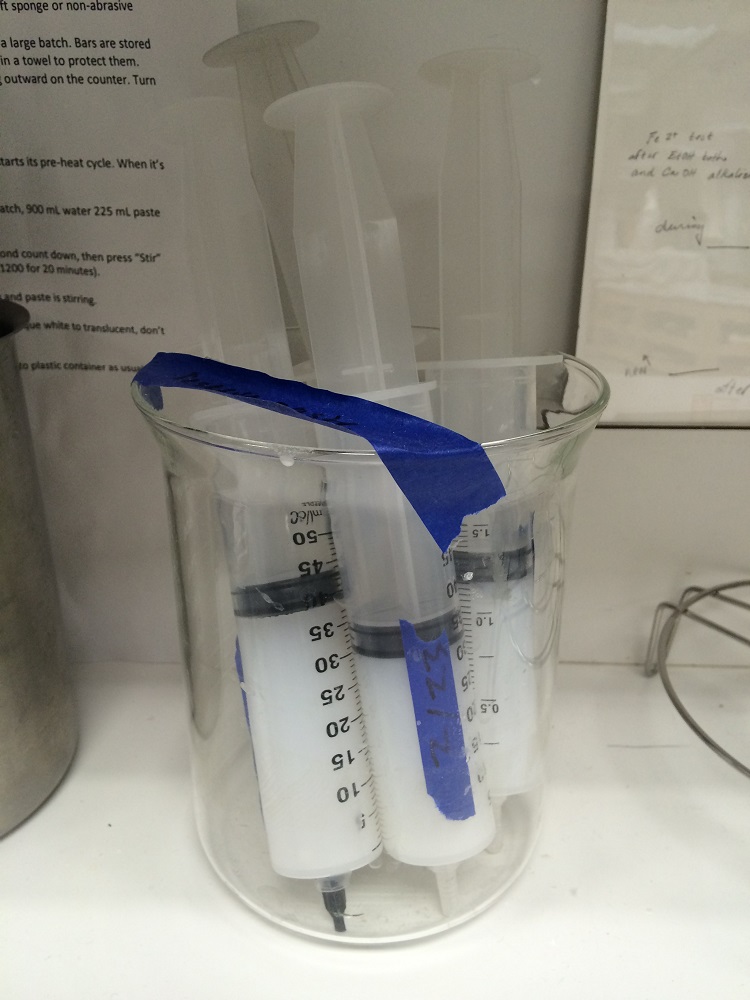
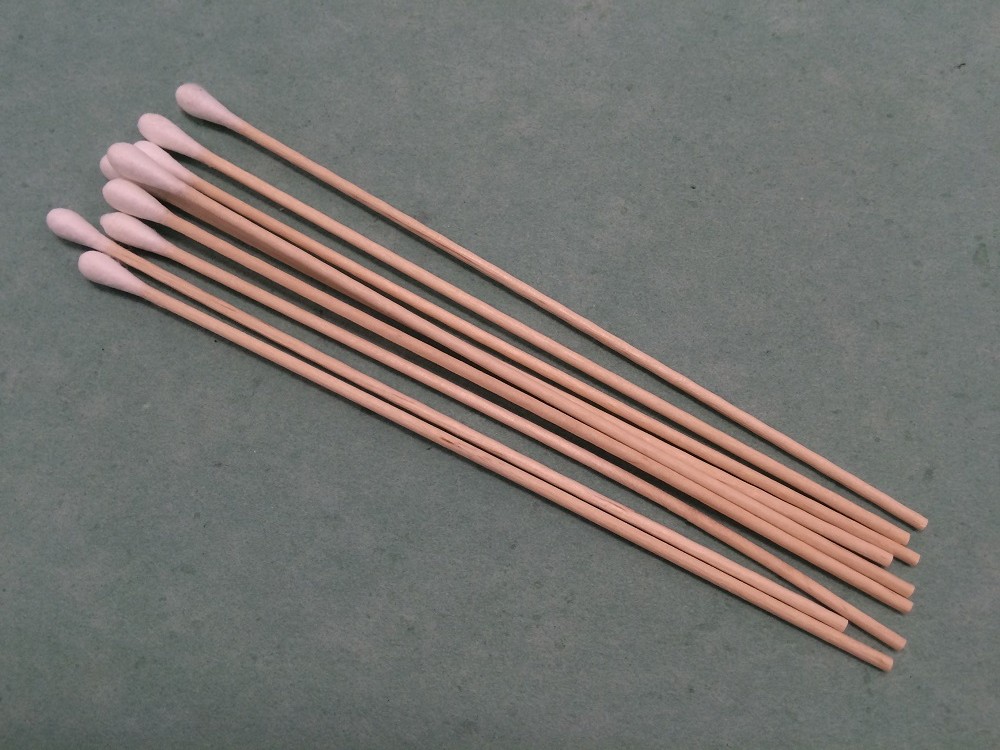
    …or a doctor’s office…

    IMG_8598

    These are syringes sans needles for holding reserve paste.

    IMG_8604

    And cotton-tipped applicators for testing ink solubility.

    IMG_8607

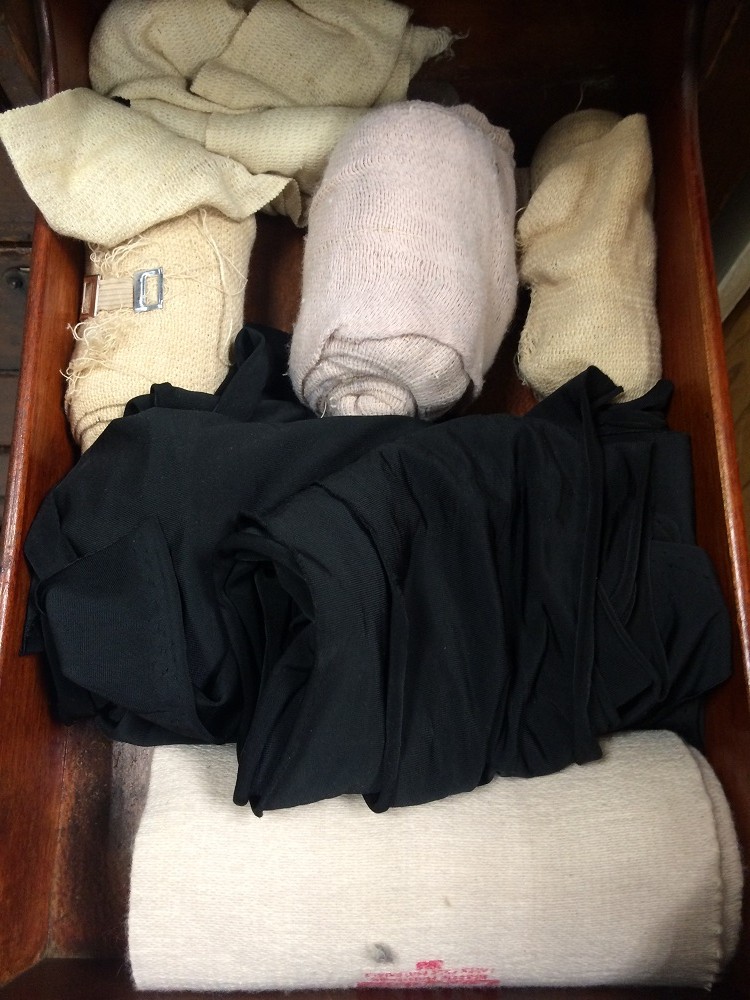
    Also an assortment of ace bandages for holding previous spines in place during re-backs.

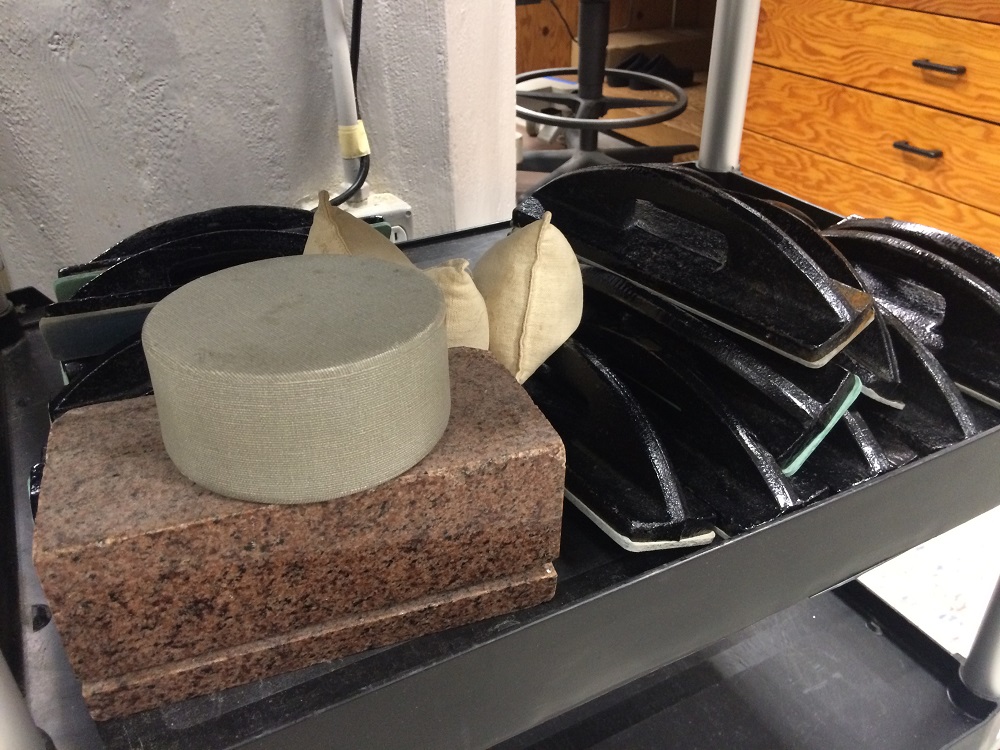
    And then there are weights:

    IMG_8600

    and more weights…

    IMG_8587

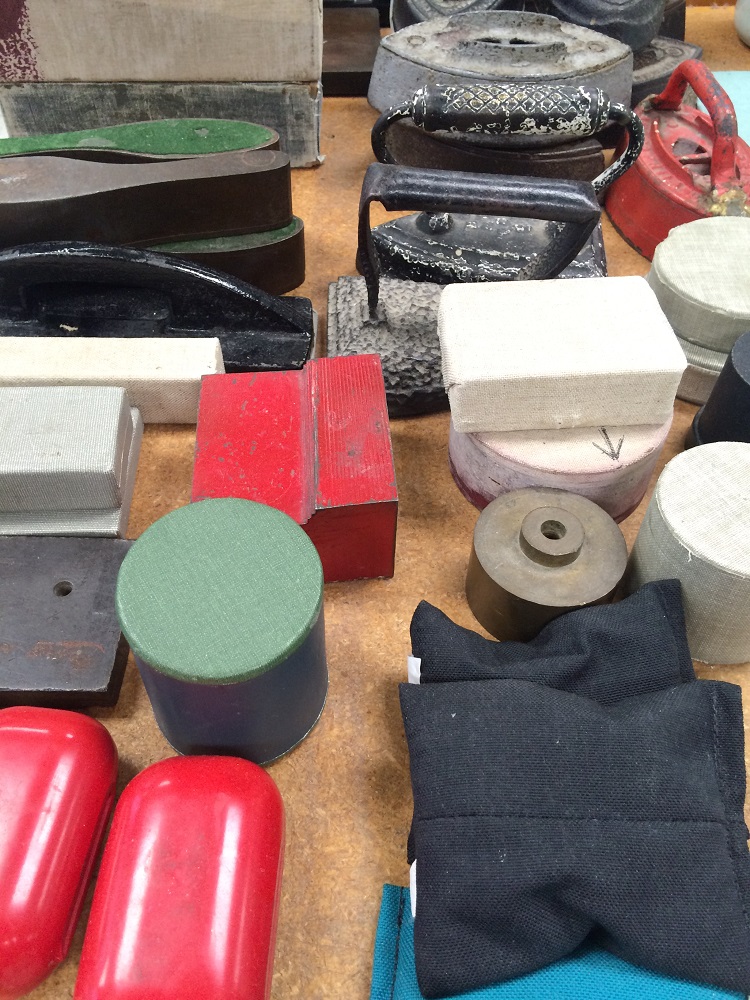
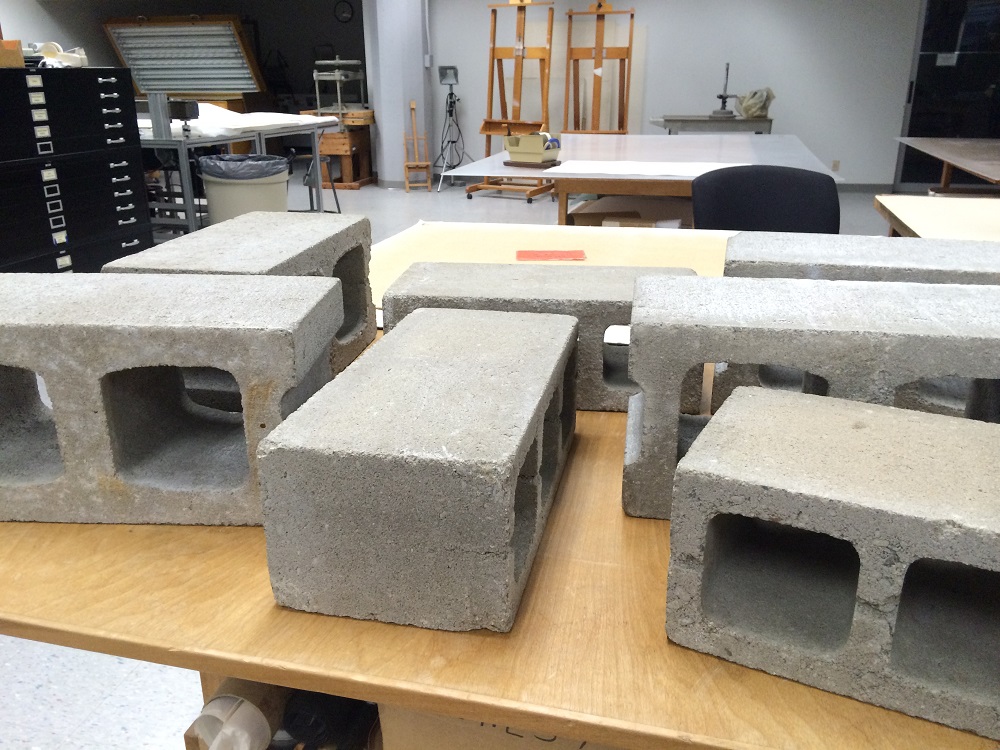
    and things that aren’t technically weights, but sure get used as such:
    IMG_8593

    IMG_8594

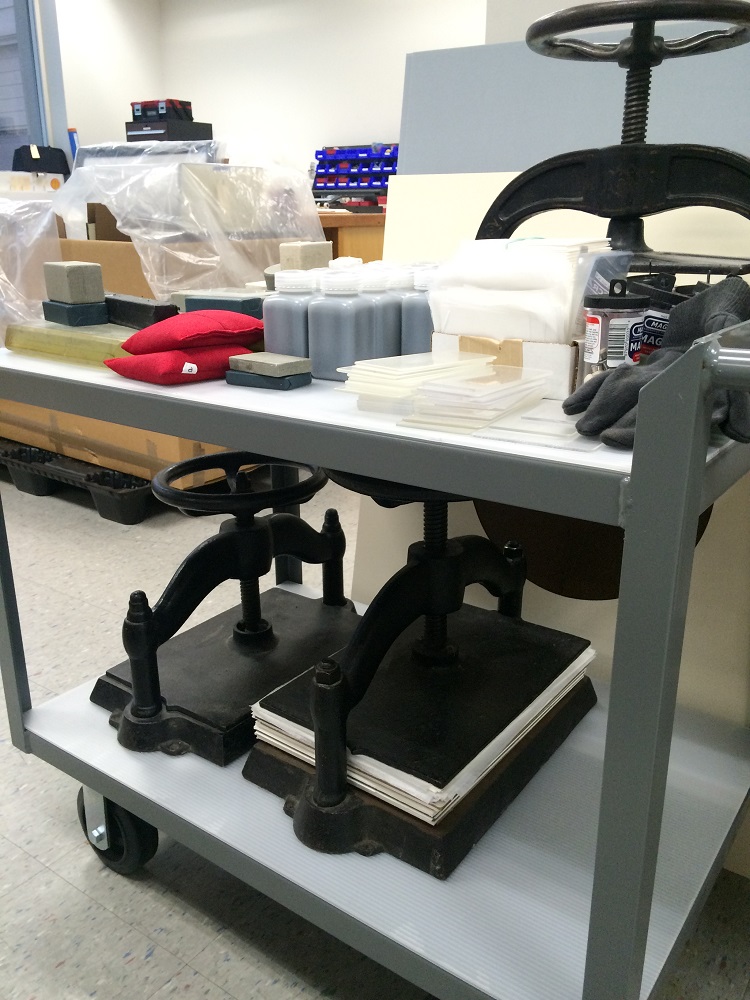
    We really like to hold things in place, so essentially anything heavy will do.

    Just like bookbinders, conservators have got to be resourceful. Labs tend to be equally outfitted with purpose-designed tools and cleverly re-purposed miscellaneous. It’s easy to get carried away with having just the right device for the job, but we’re faced with “make it work moments” every day. Anything you need is probably there, it just may take a bit of ingenuity to figure it out.

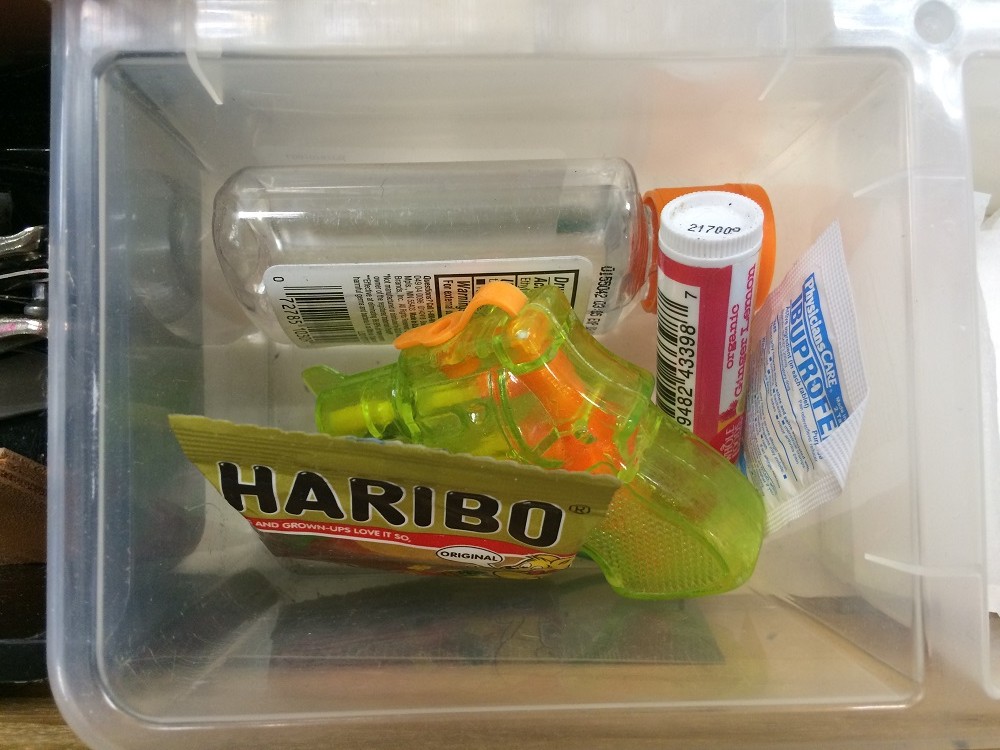
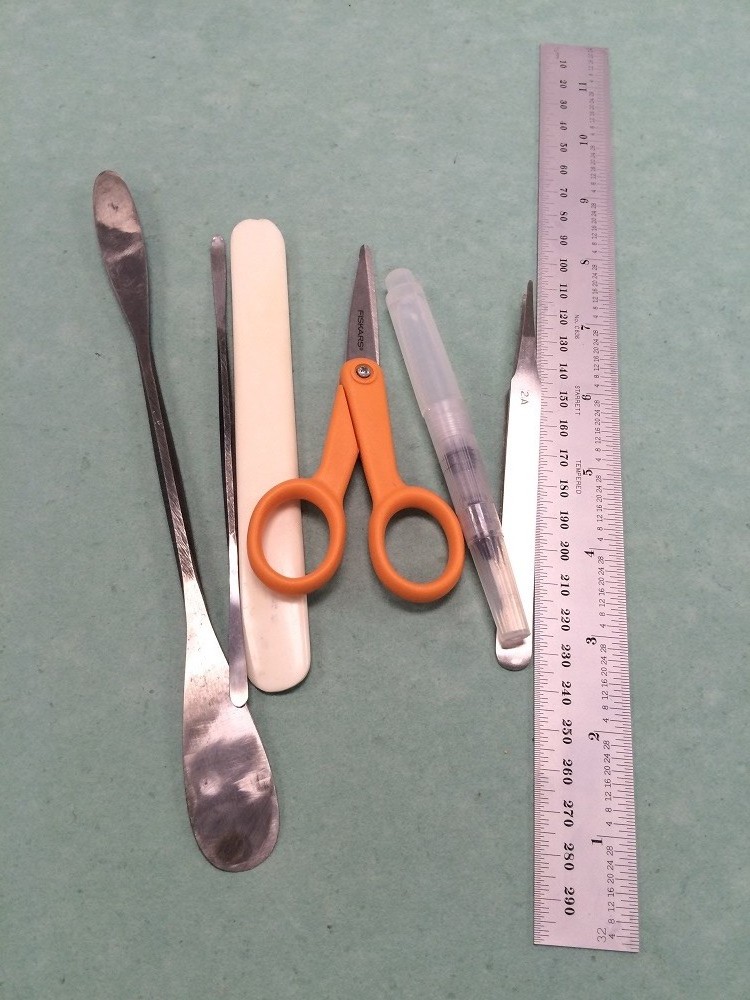
    And finally, for when just the right thing is eluding me, my emergency “tool” kit:
    IMG_8603


  2. Tutorial: Collapsible Punching Cradle

    January 3, 2014 by Erin Fletcher

    PunchingTrough1-ErinFletcher

    A punching cradle is a useful tool to have around in one’s bindery. There are a lot of models available for purchase, but it’s quite simple to make one yourself using just a few tools and materials. I have a few in my bindery that range in size, but I find my collapsible punching cradle to be the most useful. Especially when I am traveling to teach workshops.

    The following tutorial will go through the steps to create your own collapsible punching cradle. I’ve including all of my measurements, but the best part about this tool is that you can customize it for your own purposes. This particular cradle will consist of a detachable cradle and 2 leg supports. The cradle will have two different size options, which makes this particular version even more versatile. I discovered this collapsible punching cradle while taking a private workshop with Monique Lallier. She allowed me to take down the measurements and I made my own once I returned to my studio.

    If you are looking for more instructional content, I have a growing list of tutorials and I also teach live workshops in-person and online. Check out my list of Upcoming Workshops.

    MATERIALS: 
    – paper for covering (I used Lokta)
    – binder’s board
    – book cloth
    – PVA
    – methyl cellulose (optional)

    TOOLS: 
    – pencil
    – ruler
    – 90º triangle
    – Japanese screw punch with 3mm bit
    – cutting mat
    – x-acto blade
    – glue brushes in various sizes
    – bone folder
    – scissors

    STEP ONE:
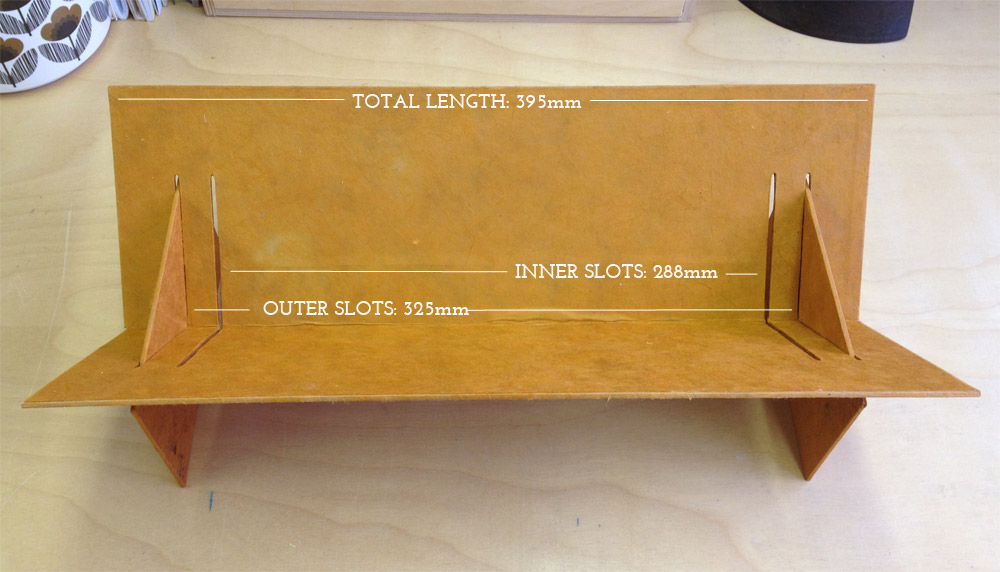
    Determine the length of workable space for your cradle. For example, if you tend to work large, then perhaps you want to make a cradle long enough for paper that is 12″ tall. The cradle I’m making in this tutorial is slightly longer than ones I currently have. The total width of my cradle is 395mm (~15½”), the two outer slots give me a workable area of 325mm (~12½”) and the inter slots give me a workable area of 288mm (~11¼”).

    PunchingCradle2a-ErinFletcher

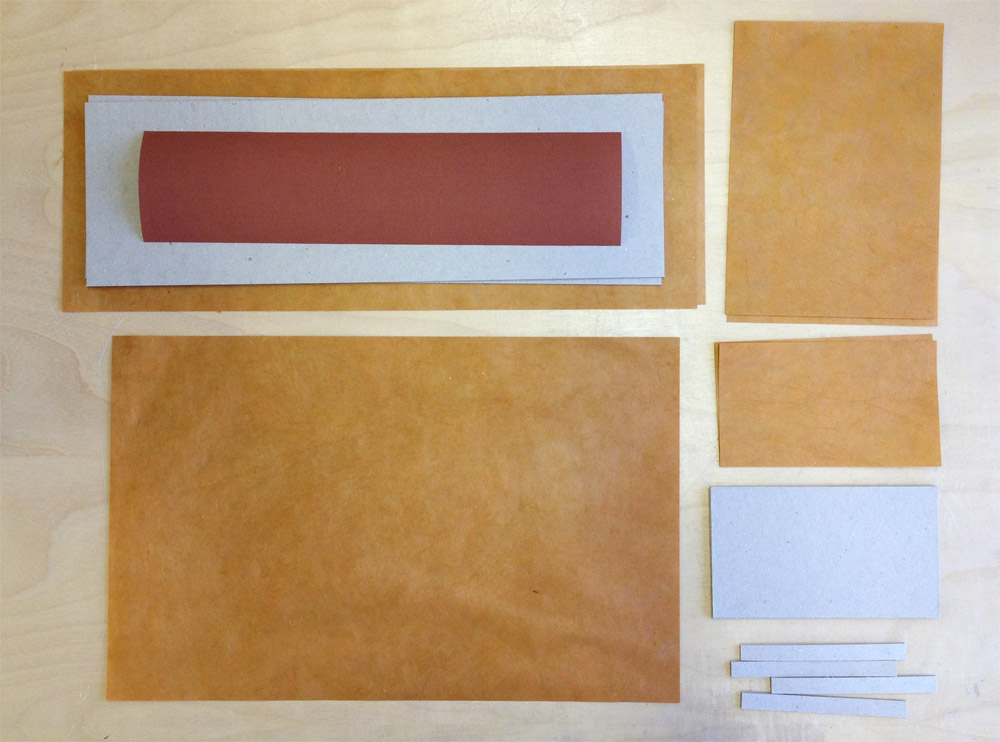
    Once you’ve decided on your dimensions, grab some binder’s board and cut down 2 pieces the same size for the cradle. The dimensions for the legs and support stubs can really vary depending on the distance you want between the bottom of the cradle and your work surface. The lower the cradle is the more likely that your awl will pierce your work surface if left unprotected. But you can start by using my measurements below and then make your own modifications.

    MY MEASUREMENTS:
    cradle (cut 2 pieces the same size):
    395mm x 125mm

    legs (cut 2 pieces the same size):
    150mmx 88mm

    support stubs (cut 4 pieces the same size):
    110mm x 11mm

    STEP TWO:
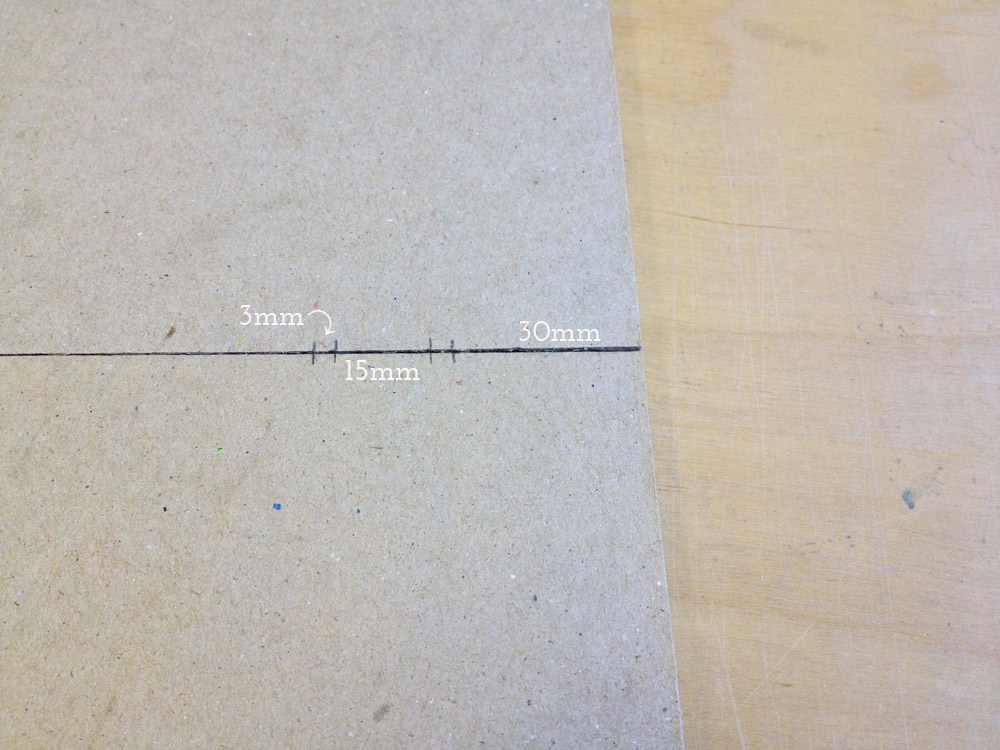
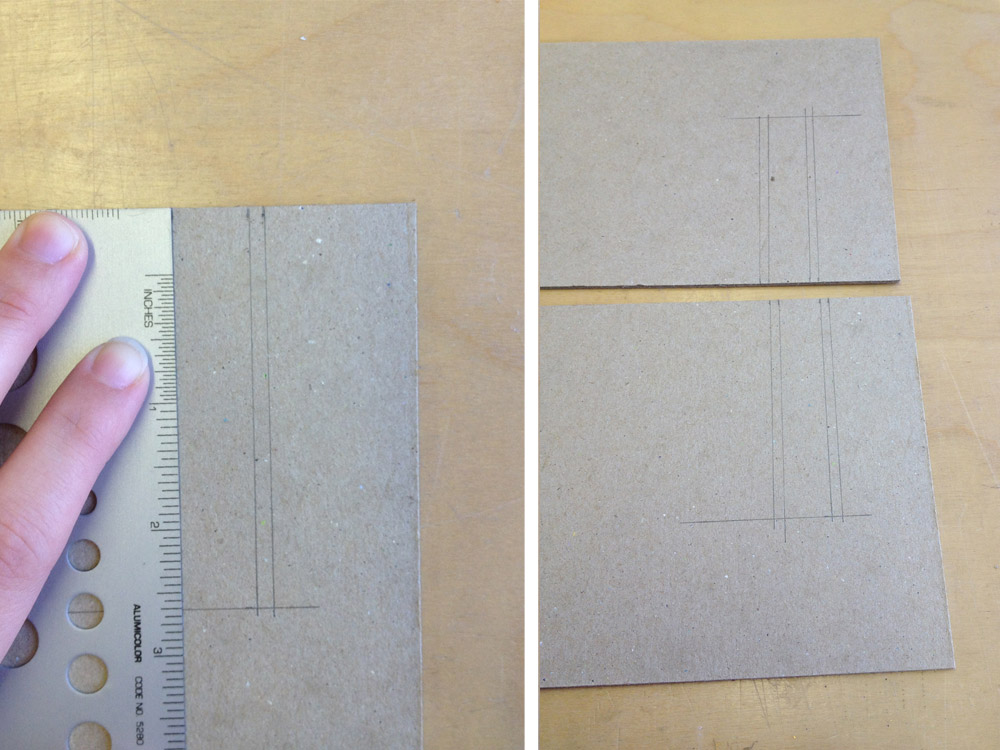
    Mark with a pencil where you would like the two slots to be on both cradle pieces. On my cradle the outer slot starts 30mm in from either end. Each slot is 3mm wide and they sit 15mm apart.

    PunchingCradle3a-ErinFletcher

    The height of my slots are 80mm from the bottom edge of the cradle. Using a 90º triangle, draw a line from your mark up to the desired height. Do this on either side and on both cradle pieces.

    PunchingCradle4-ErinFletcher

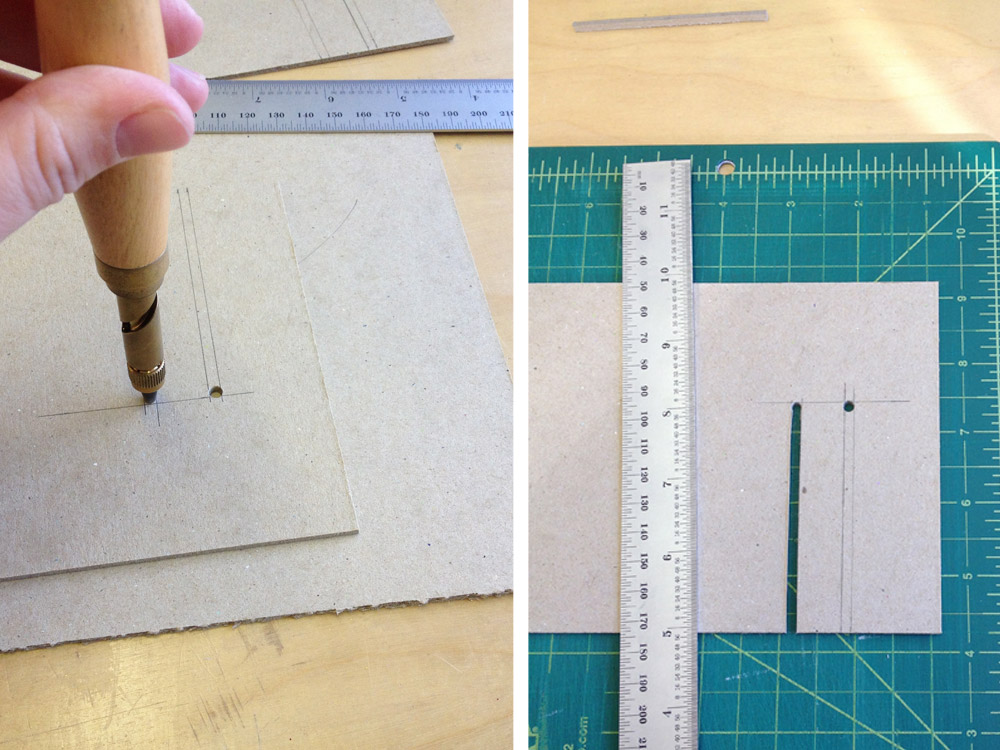
    Using a Japanese screw punch with a 3mm bit, punch a hole at the top of the slots. Make sure to have a scrap board underneath to protect your work surface. With an x-acto blade, carefully cut out the slots by slowly cutting through each layer. DO NOT try and cut through the entire thickness in one stroke, the blade could kickback and slice your finger. As you cut, angle your blade as perpendicular to the binder’s board as you can, this will make a nice straight cut. Sand the slots smooth.

    PunchingCradle5-ErinFletcher

    read more >


  • My name is Erin Fletcher, owner and bookbinder of Herringbone Bindery in Boston. Flash of the Hand is a space where I share my process and inspirations.
    The StudioNewsletterInstagramEmail me
  • Archives