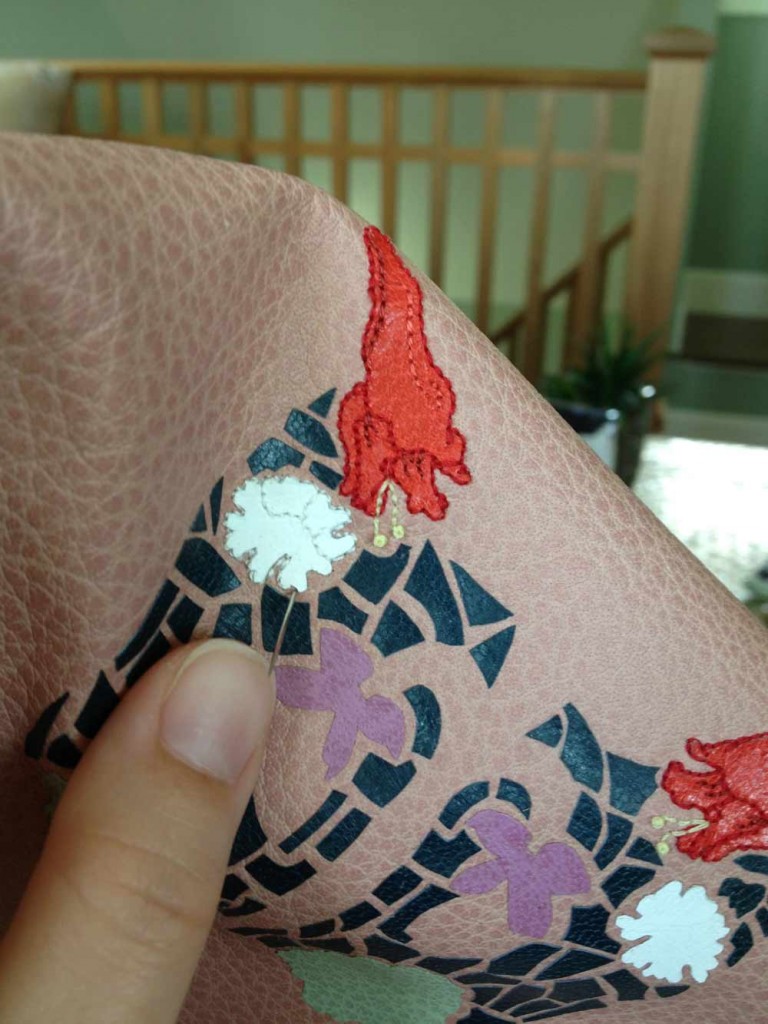
During my first year at North Bennet Street School, I stumbled upon this underrepresented category of bookbindings referred to quite accurately as embroidered bindings. Embroidery has been an interest and hobby of mine since I was a child. My research into this style of binding led me as far as Cyril Davenport’s Book of English Embroidered Bookbindings, which is one of a handful of books written solely on embroidered bindings.
From my research, I set out to create an embroidered binding using similar materials and techniques. I bound The Crucible in 2011. The overall layout and imagery on the covers are inspired by traditional outlines and iconography seen in historical embroidered bindings. The Crucible was a success (landing me Best Binding from the OBMI Chicago Public Library Exhibition) and ever since embroidery has been a technique that I’ve been wanting to translate onto a fine binding.
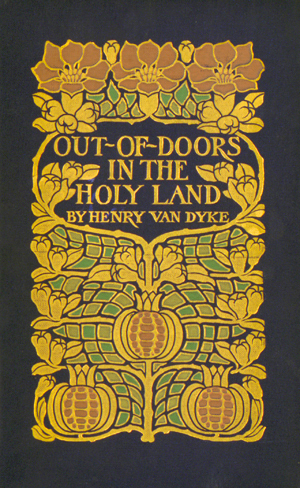
Entering for the first time to the most recent Society of Bookbinders International Competition, I decided to bind a copy of Margaret Armstrong’s Field Book of Western Wildflowers. Margaret Armstrong is notable for designing covers for Publishers’ Bindings during the 1920s. As an illustrator, she also enjoyed drawing life-like representations of wild flowers. Margaret published Field Book in 1915, surveying wild flowers throughout the western hemisphere of the United States. The book includes 500 black and white illustrations and 48 colored plates. For the design of my fine binding I wanted to capture Margaret’s fame as a designer and skill as an illustrator. The cover on my fine binding is inspired by Margaret’s design for Henry Van Dyke’s Out of Doors in the Holy Land.
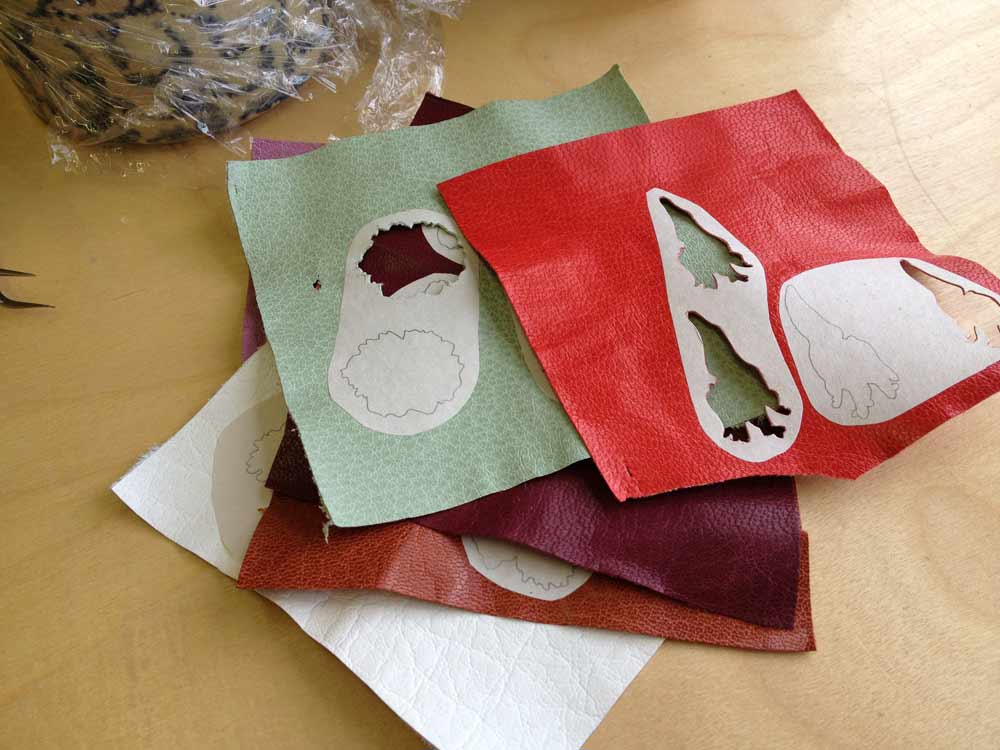
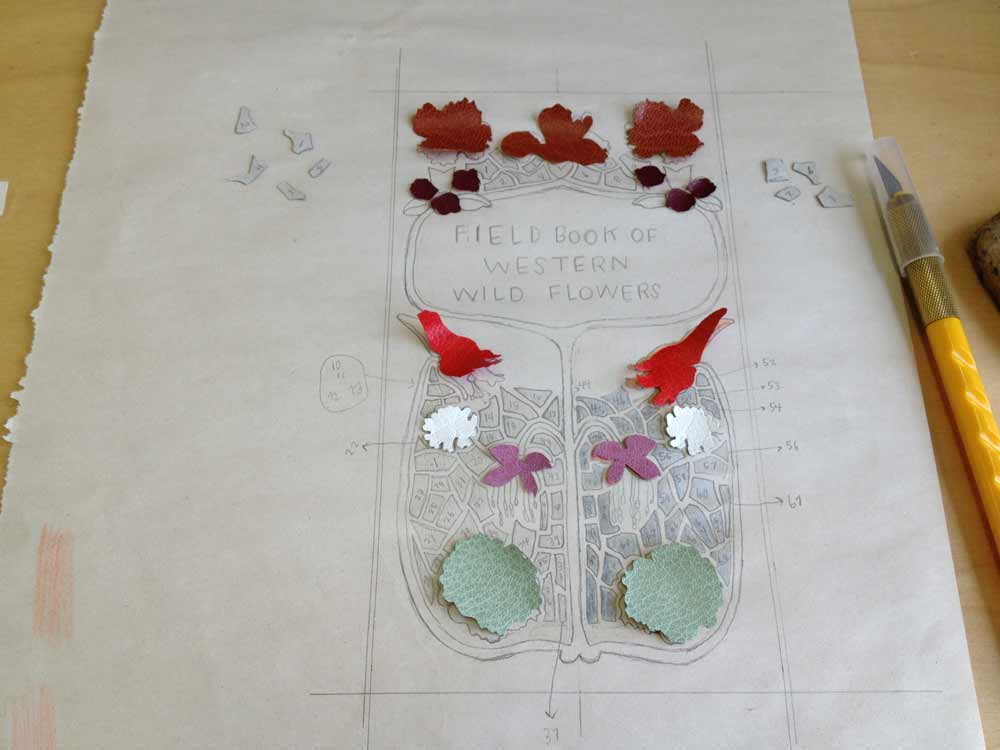
Beginning with a detailed sketch of the cover design, I labeled each onlay with a number and color. Each flower is taken directly from one of Margaret’s illustrations. The onlay leather ranged from goatskin to buffalo, the colors chosen to best represent the natural color of that specific species of flower. The leather was pared down to almost nothing, the illustrations were then pasted down to the leather and carefully cut out.
I carefully arranged each piece of leather onto the sketch as a means to keep order to the mounting onlays, which came out to a total of 93 itty bitty pieces.
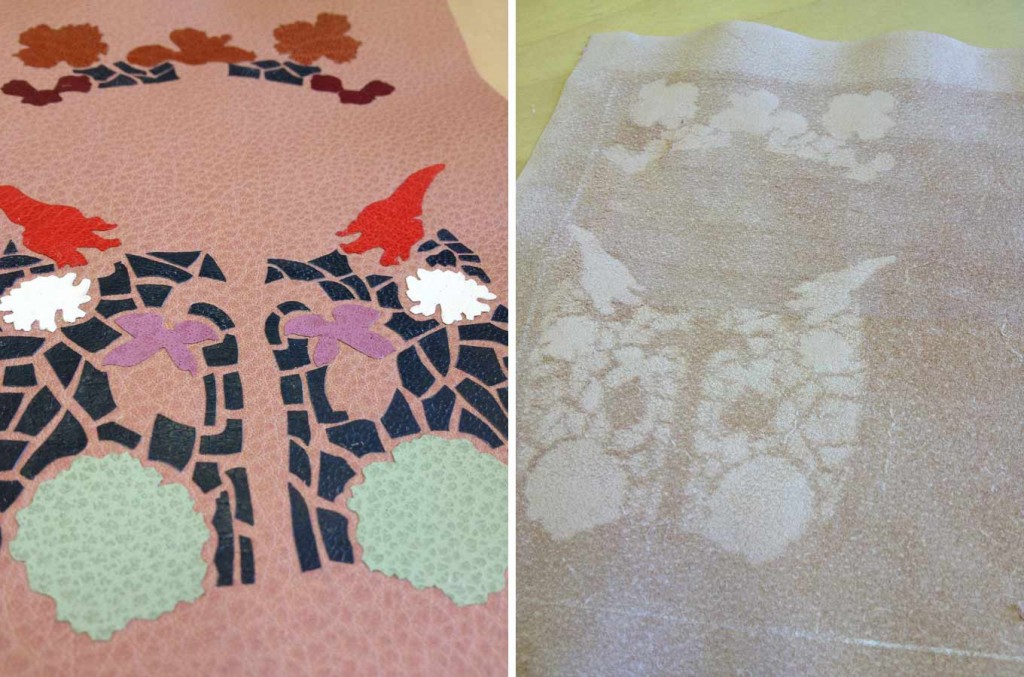
I cut down the base leather to it’s final size, I chose a dusty pink buffalo skin both for it’s soft, muted color and texture. I glued down each onlay one by one with PVA, pressing it between acrylic boards as I went. Once the onlays were in place and secured, I pared the entire skin to it’s final thickness. While paring the blade is removing more flesh from the areas with onlays creating a ghost-like silhouette, thus the technique of a back-pared onlay. This allows for a smoother transition between the base leather and the onlay leather.
At this point, the leather was ready to be embroidered and this became my favorite part. Each flower onlay was outlined with a floss that best matched the color of the leather. Additional colors were chosen to add highlights and shadows. Stitching through leather was surprisingly easy. However, a misguided needle could leave a lasting hole, so it was very important to accurately pierce through the leather.
Part Two coming soon…
