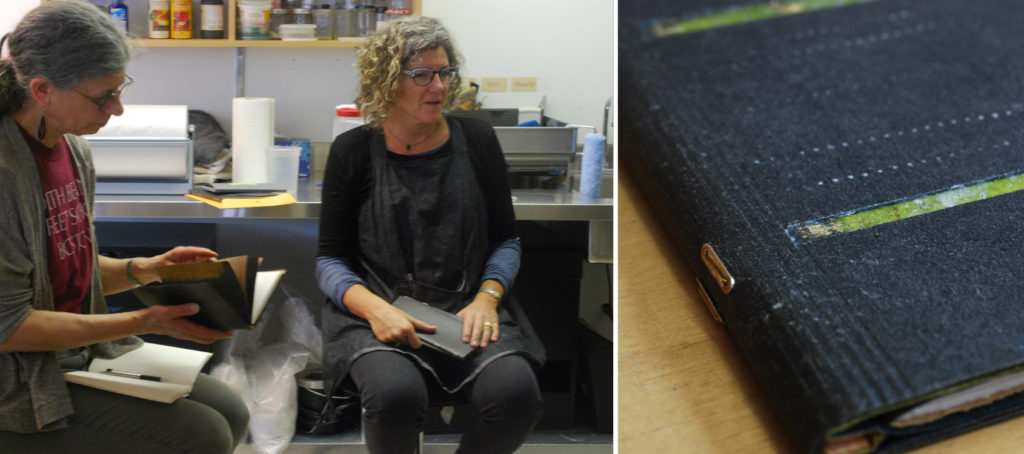
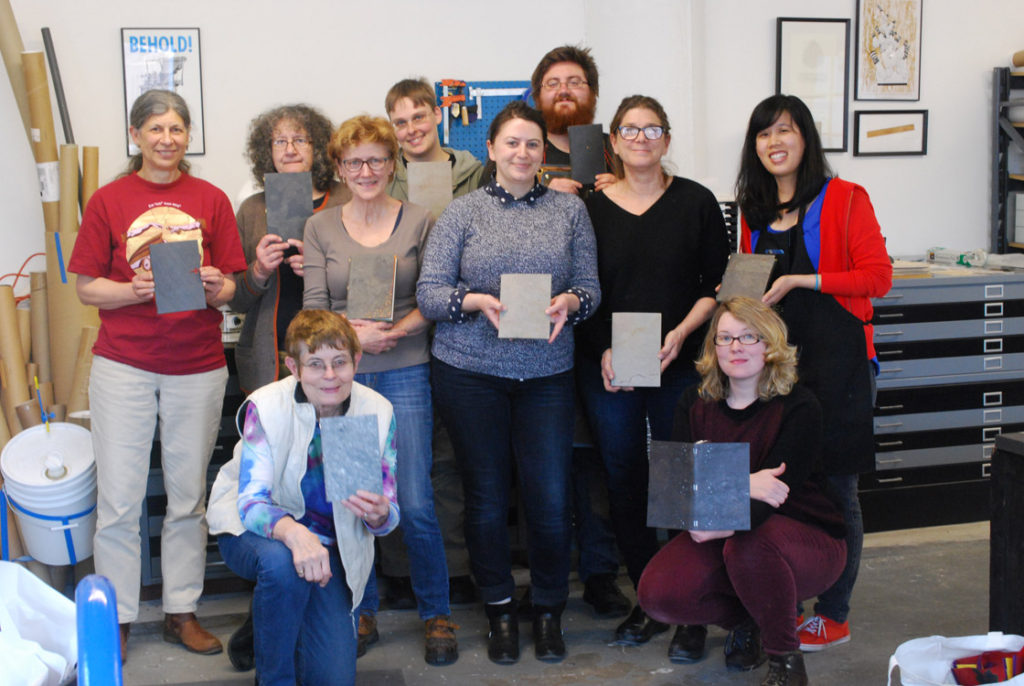
Over the first weekend in April, Third Year Studio hosted a workshop organized by the New England Chapter of the Guild of Book Workers. Third Year Studio is located in Boston and is run by Colin Urbina, who just so happens to be my friend and studio mate (Herringbone Bindery is run out of Third Year Studio). This was the first workshop we hosted and Colin was so gracious to opened his space to members of NEGBW and to our guest instructor Coleen Curry.
Coleen traveled to a unseasonably warm, then snowy Boston to teach 10 local New England binders, book artists and conservators Staple Binding in Stone Veneer. Coleen learned this innovative structure from Sün Evrard, who developed this binding as a conservation solution under the Tomorrow’s Past ideology. We began the first day of the workshop by handing around models of the Stone Veneer binding while introducing ourselves and learning about the structure and its history. The stone veneer comes from a place in Italy where it is cut to a veneer-thickness by use of lasers. This process puts an adhesive coating on the surface, while the back is coated with a cotton-fiberglass layer. The veneer comes in two varieties: slate or quartzite. Yet within these two categories you can find a range of textures, patterns and tones.
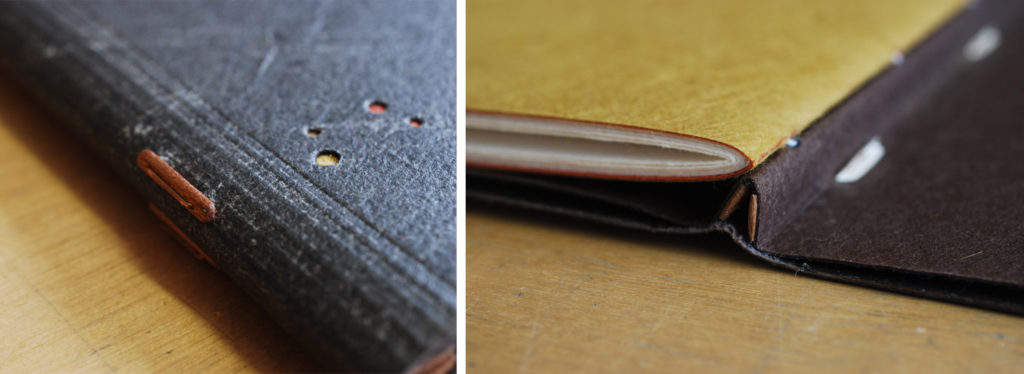
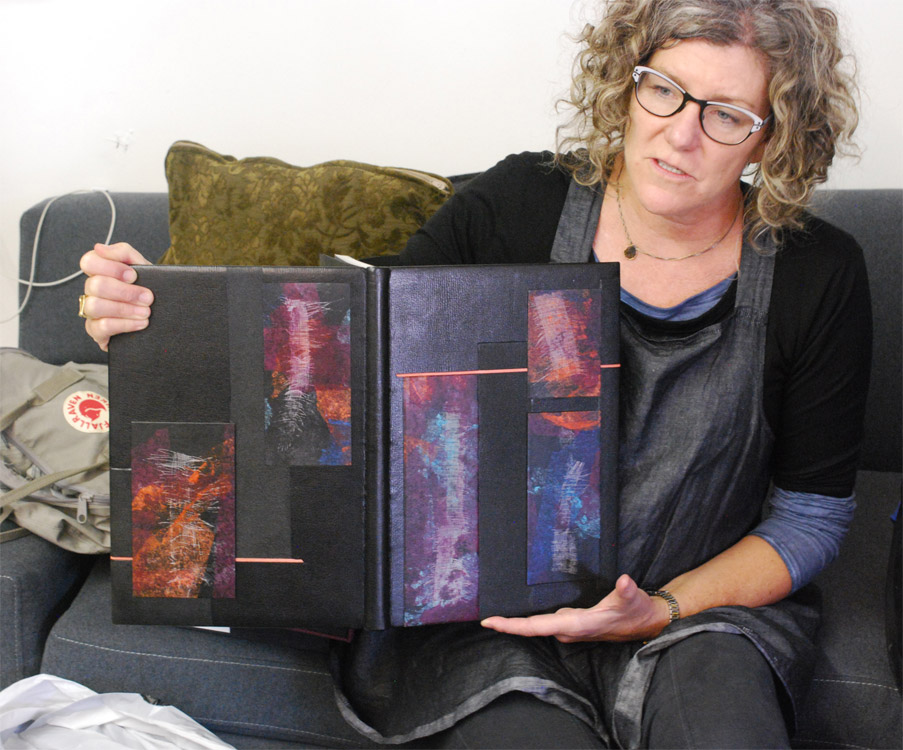
The decoration on the slate stone veneer binding of Toad Poems above was achieved by placing a gilt piece of paper behind a cut-out in the covers. The windows are aligned with the staples, an example of how to incorporate the layout of the staples with the overall design.
The details of the binding above are of the blank model that Coleen made during the workshop with Sün, where she learned this structure. The covers were decorated using a Japanese screw punch. The circular cut-outs were backed with various colored Japanese tissues, offering a small pop of color against the grey slate. The image on the left shows part of the interior construction.
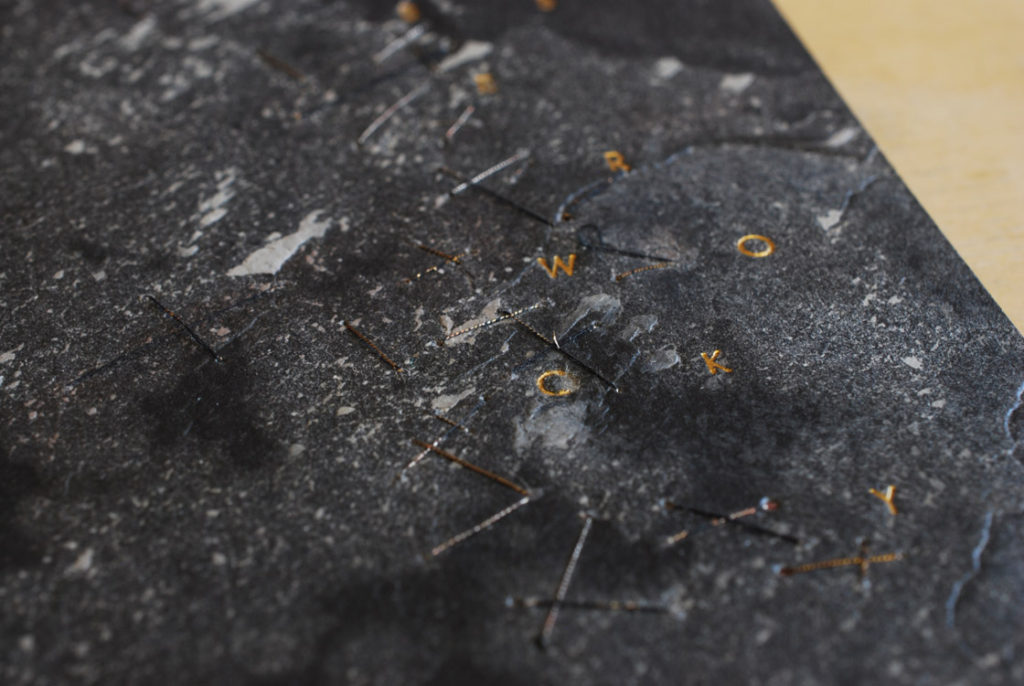
Another example binding that Coleen shared with us, is this binding of Jabberwocky by Lewis Carroll. It was a great example of how well the stone tools and how it can handle embroidered decorations.
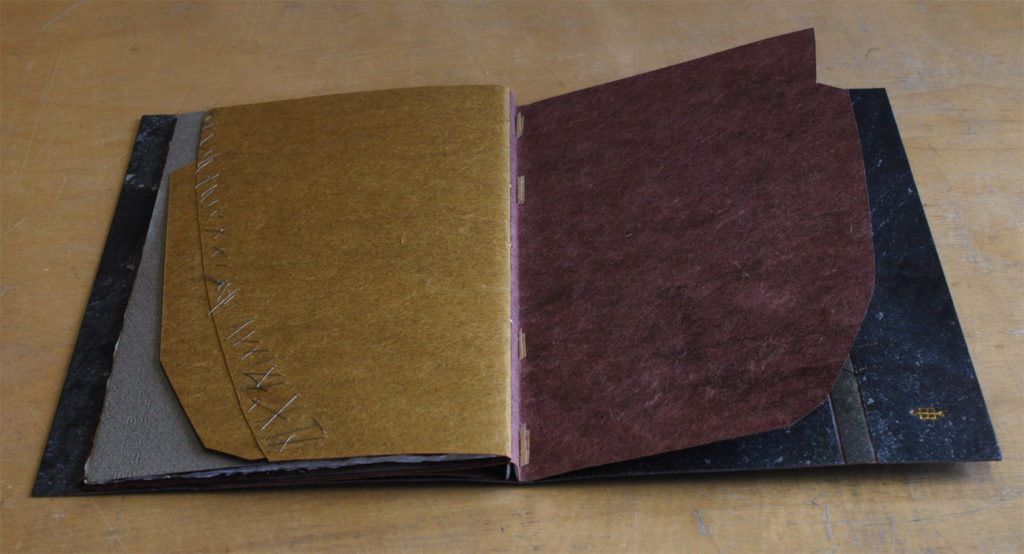
I especially loved the playfulness of the patched endpapers and use of embroidery to mend the edges.
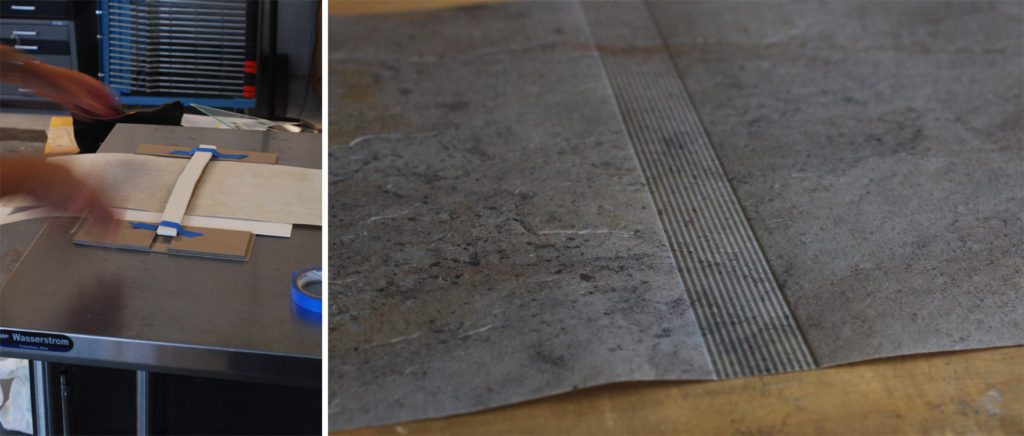
After looking through Coleen’s examples, it was time for us to make our own model. After choosing our unique piece of stone (I chose a lovely light colored slate with splashes of yellows, pinks and purples), we were instructed to stamp a series of parallel lines into the center (or spine) of the stone. We did this by strapping our stone and a heated brass rule into a contraption and keeping it under the weight inside our large press. Afterward, we laminated a second layer of Japanese tissue to the backside of the stone. While that was put to bed, we laminated together pieces of colored Japanese tissue that would ultimately become our endpapers.
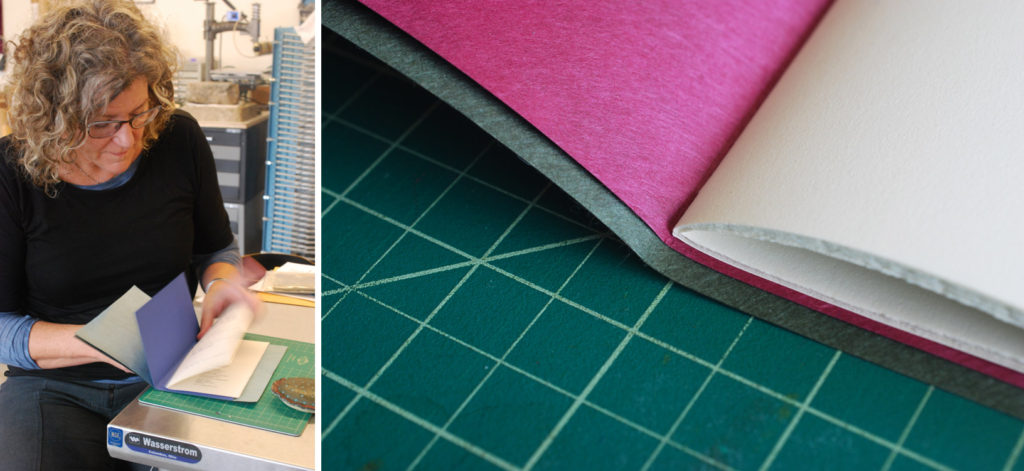
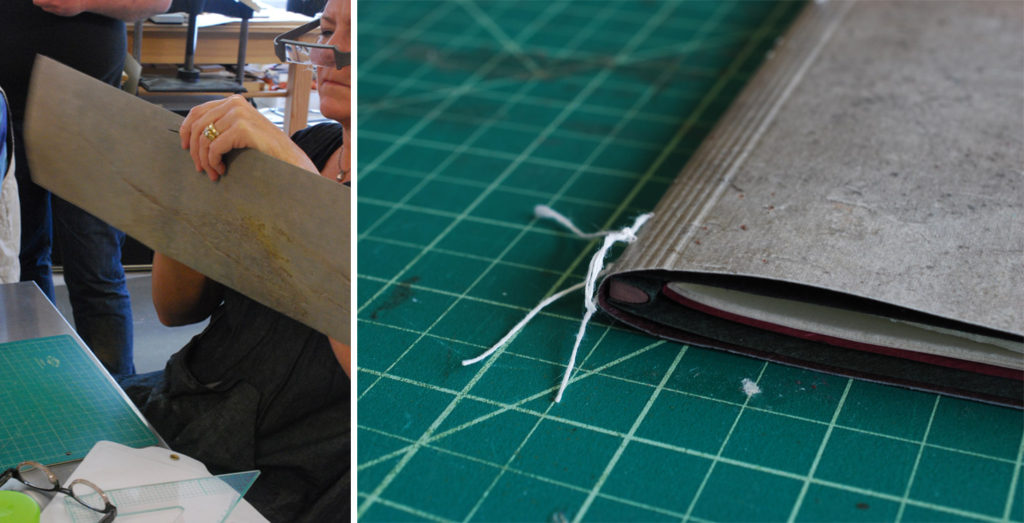
While our stone continued to dry, we trimmed down our endpapers to either match our text block or extend slightly behind the edges. The image below shows Coleen demoing the pamphlet stitch that we would use on the text block. The image on the right shows how I trimmed my endpapers. In the end I didn’t like how much of a square I gave the outer (green) endpaper. With the additional square from the stone, the overall square became to large for the size of the text block.
At the end of day one, Coleen shared with us two fine bindings on loan from a local collector. It was an unexpected and delightful treat to handle and speak with Coleen about her bindings and decorative techniques.
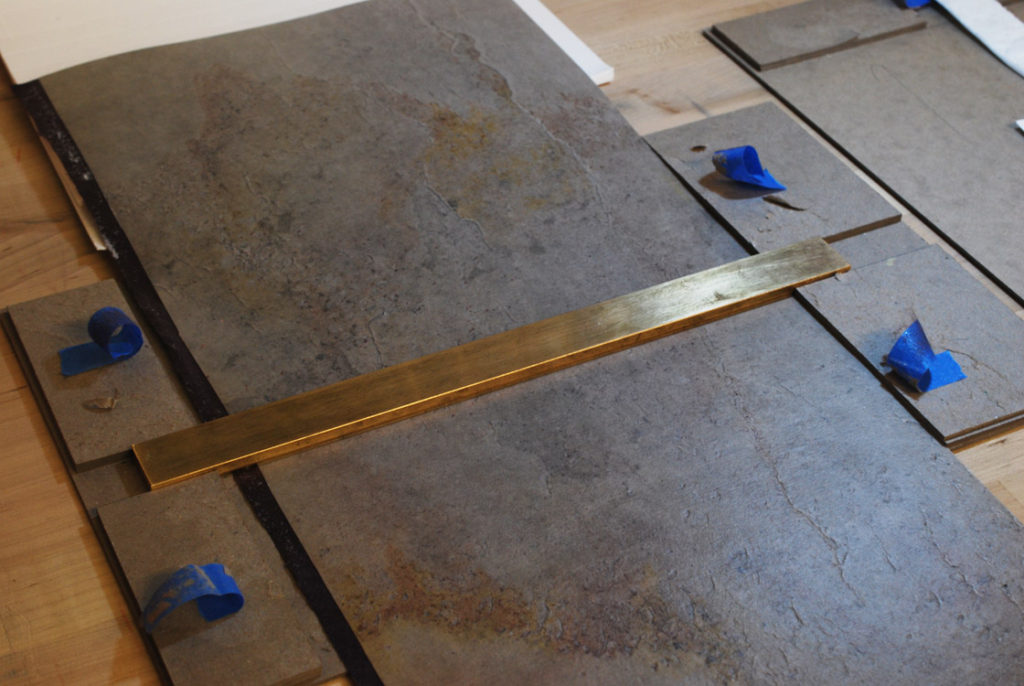
On day two of the workshop, we were all reunited with our backed stone veneer. We went through the unnerving task of stamping our veneer with the brass rule three more times to redefine the lines and make sure we had an even amount on the outside and odd number on the inside. It was very important to register the brass rule correctly each time, so that our lines stayed crisp and parallel to one another. I snapped a photograph at the very end when I was ready to take the brass rule and stone out of our jig.
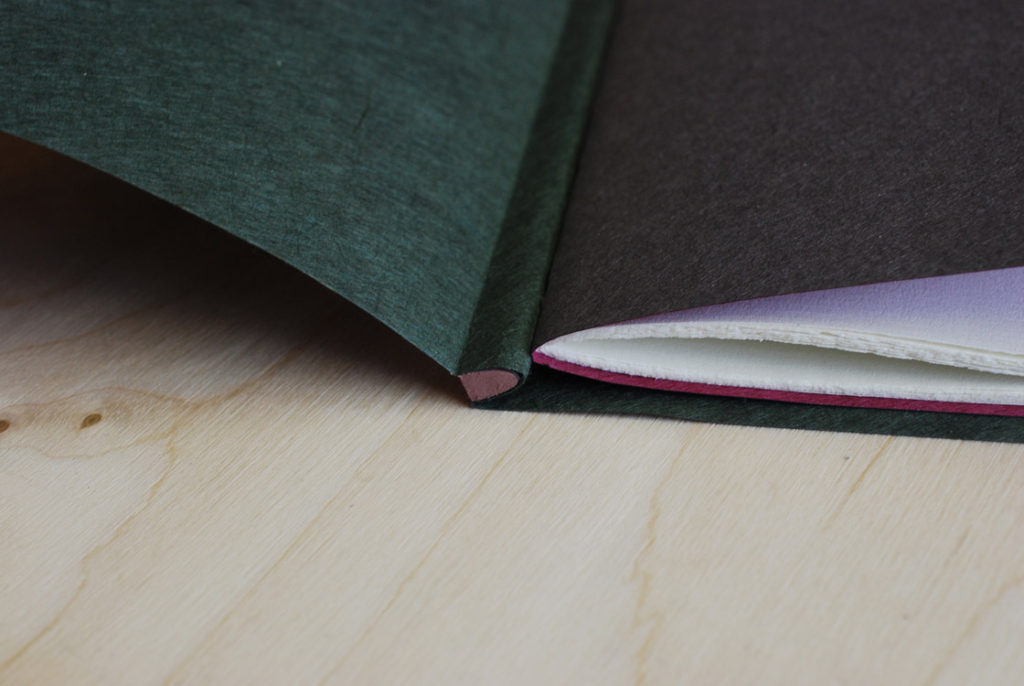
We also advanced on the text block by attaching the wooden spine stub piece. This stub could be made from a number of materials, but we choose from a selection of basswood pieces that were cut down and laminated to match the height of the outer endpaper and thickness of the text block. The wooden piece was also shaped to match the roundness of the folded signature. I painted the ends of my spine piece to offer a bit of decoration to the head and tail. After trimming, shaping and painting, the spine piece was affixed to the outer endpaper and the fore edge was finally trimmed to the final width.
At this point, we were ready to attach our text block to the stone veneer. The first steps were to create a punching jig to guide our awls to punch holes in the folds of the outer endpaper and in the stone cover. The stone was easy to pierce, once you felt it was in the right place, I simply used an awl to poke through the stone. We laced our text block temporarily into the stone covers in order to fold the fore edge and trim off any excess.
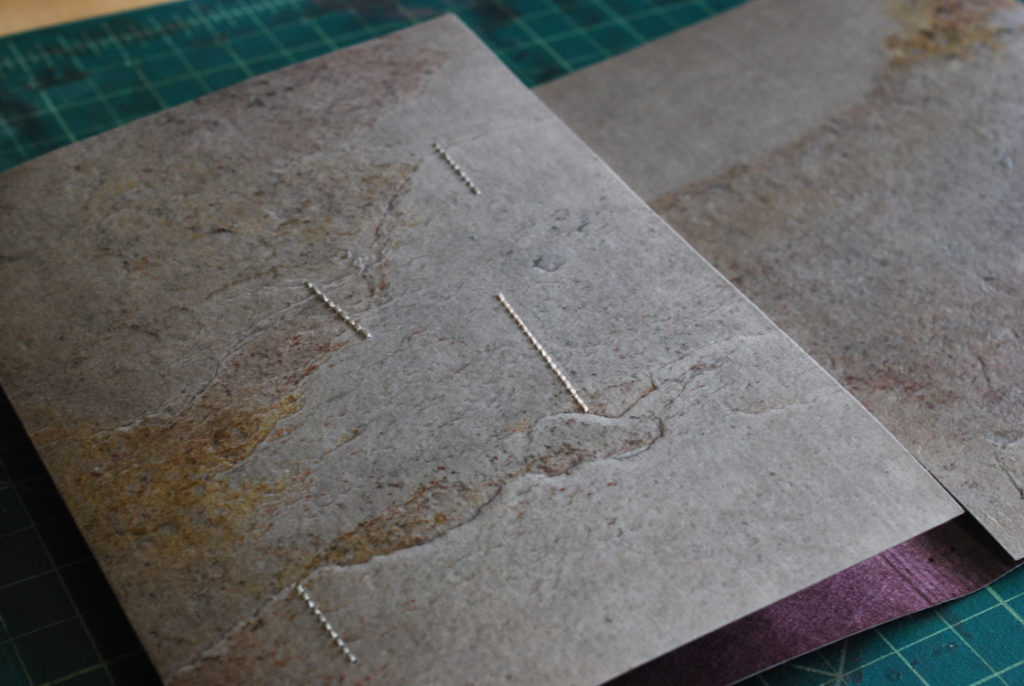
Before laminating the folded stone onto itself, you have the opportunity to add any decorative elements such as cut-outs, sewing, tooling, etc. Due to time constraints (I had to remake a painted wooden stay that I dropped on the floor), I chose to add some simple embroidered stitches just to see how well I could sew through the stone. This was mostly done on the inside of the front cover.
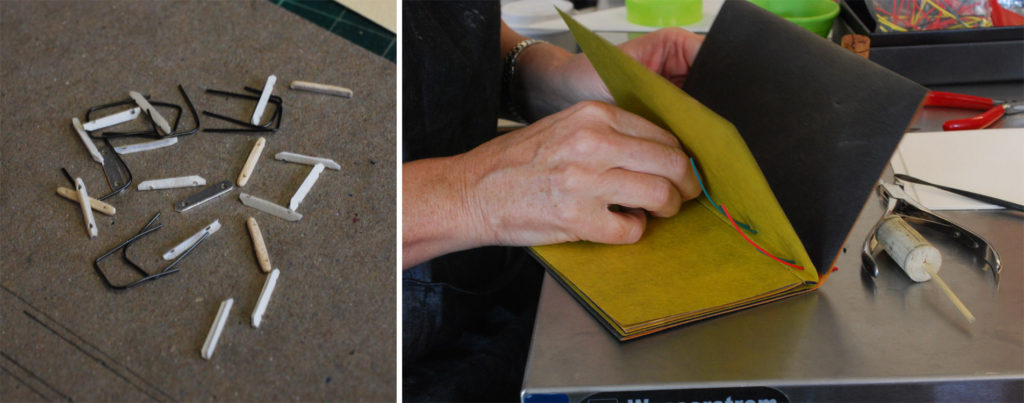
With a pile of stays (wooden, metal and vellum) and metal staples in hand, I was ready to securely attach the text block to the stone veneer covers. In the image on the right below, Coleen is demonstrating how to use plastic tubing to make it easier to insert the staples and stays.
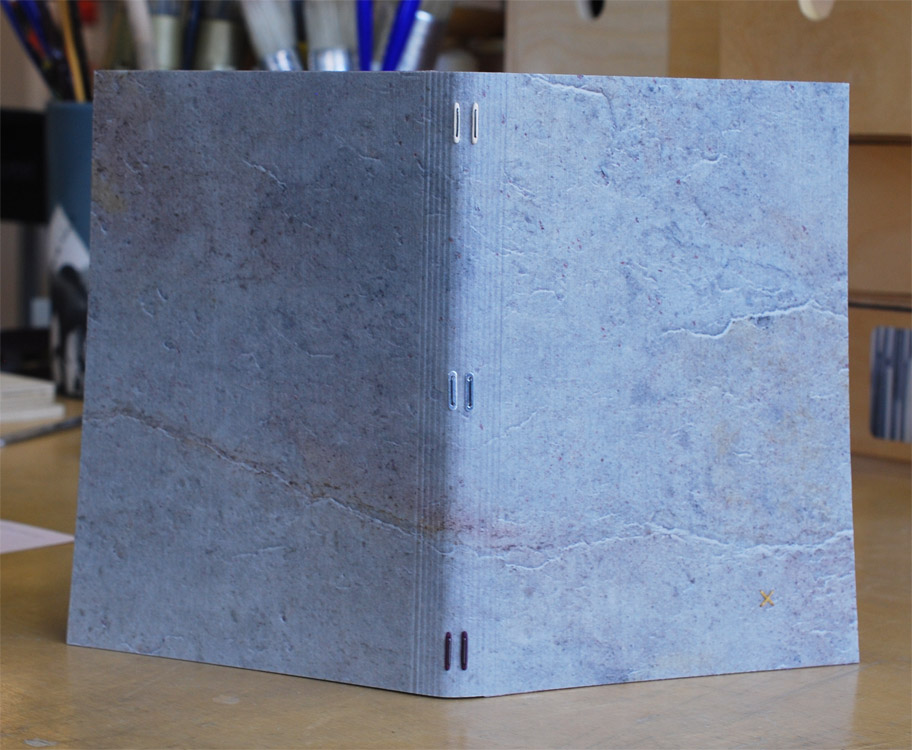
For my binding, I chose to use both metal connectors and wooden stays. I painted one set of wooden stays to match the dark purple laminated to the backside of my stone. The staple is inserted through the stay and the vellum catches the legs of the staples on the inside of the endpaper. We stuck an orange stick into a piece of cork, this strange looking tool (seen above) aided in folding over the legs of staples. And viola! The binding is complete. At this point I could still add tooling, but I loved the look of my stone, that I chose to leave it untouched.
We had a great workshop with Coleen, she brought so much experience and knowledge to the workshop. Her patience and persistence ensured that everyone walked away satisfied and with a finished binding.
