Tape, once an innocent medium used to laminate middle school notebooks with drawings and pictures of my favorite boy band members, has become one of the great horrors of my life.
While I might be exaggerating a tiny bit, tape is most certainly very bad for paper and books and has lead to many hours spent hunched over a bench or under a fume hood trying to get the stuff off. A convenient household repair material, it has long been misused by well-meaning folk in last ditch attempts to fix their beloved tomes. However, this seemingly convenient repair material always does more harm than good. Not only does it look horrible, often obscuring text and discoloring the object it is stuck to, if left on an object for too long it can fuse itself with the paper fibers, making removal of the adhesive and resulting stain very difficult and time-consuming.
Pressure-sensitive tape ages in very distinct stages. In their 1983 article for The Book and Paper Group Annual, Merrily A. Smith, Norvell M. M. Jones, II, Susan L. Page and Marian Peck Dirda describe the aging process:
Initially, there is a period of little alteration, an induction time. During the induction time, removal is relatively easy. As oxidation progresses, this stage is followed by a fairly abrupt change in adhesive consistency and color. The adhesive mass gets very sticky and oily, perhaps, in part, because of the breaking up of the rubber polymer. It also starts to yellow. Apparently during this stage various components of the adhesive soak into the paper, rendering it translucent. Some components probably remain, at least temporarily, on the surface. In this oily condition the adhesive mass can penetrate the paper entirely and move into adjacent sheets.
Its components can also begin to affect certain media—particularly printing, typing, and ballpoint pen inks—causing them to bleed. Removal of tape during this very sticky period is usually still possible, but is more difficult.
The adhesive, having permeated the paper, continues to oxidize, and gradually loses its adhesive properties. The carrier may fall off, and the adhesive residues crosslink, becoming hard, brittle, and highly discolored. Once it has reached this condition, the adhesive residue and the stain it has created are very difficult, sometimes impossible, to remove.
So, what to do? There is a plethora of ways to attack tape removal. I am going to touch on a few ways to remove the carrier (the material that physically holds the adhesive, usually either cellophane or paper) and the remaining adhesive from the affected object.
Carrier Removal
Naturally, the least-invasive method of carrier removal is to mechanically chip it off with a Casselli spatula. However, most often the adhesive is still too effective and mechanical removal will result in damaging the surface of the object. The next least-invasive method is to apply heat, loosening the adhesive, and allowing the conservator to peel back the carrier. There are a few ways to do this:
- Heated Spatula – Heated spatulas soften the adhesive and remove the carrier in one go. A thin metal piece can be heated to various temperatures (it is always best to start at the lowest heat setting and increase if necessary) and slipped beneath the carrier to lift it away from the object. The metal apparatus comes in various sizes and thicknesses, and can be modified to be thinner if necessary.
- Heating the object from behind – A new technique to me, but one that is simple and effective. Many different flat heating elements can be employed—a cup warmer, the bottom of a tacking iron, a kapton test tube warmer, or a heated silicone blanket. The heating element is covered in blotter and the object placed on top. This slowly warms the adhesive from behind, and allows a Casselli spatula to be slipped beneath the carrier and remove it. An effective technique if you need to remove a significant amount of tape, as it allows a large surface to be warmed at once, making removal much faster.
If heat is ineffective, solvents can also be used to loosen the adhesive and remove the carrier.
- Solvent chamber – Insert a piece of blotter that has been soaked with your solvent of choice into the top of an upside-down beaker. You can either cut the blotter so that it is a slightly larger circle than the beaker and will hold on its own, or cut it to be the same size or smaller and hold it to the roof of the beaker with magnets. Place the upside-down beaker on top of the tape you wish to remove and let the solvent work for a few minutes. It should loosen the adhesive enough so that the carrier can be easily removed.
- Plaster – the same technique as above can be employed using a glass cup filled with Plaster of Paris. PoP is porous and as a result can absorb large amounts of solvent. This technique is nice because you can easily make a stash of PoP cups in advance (making sure that you only use one type of solvent in each) and have them on hand. This technique can also hold more solvent than the blotter technique, so you can remove more tape without having to replenish the solvent over and over.
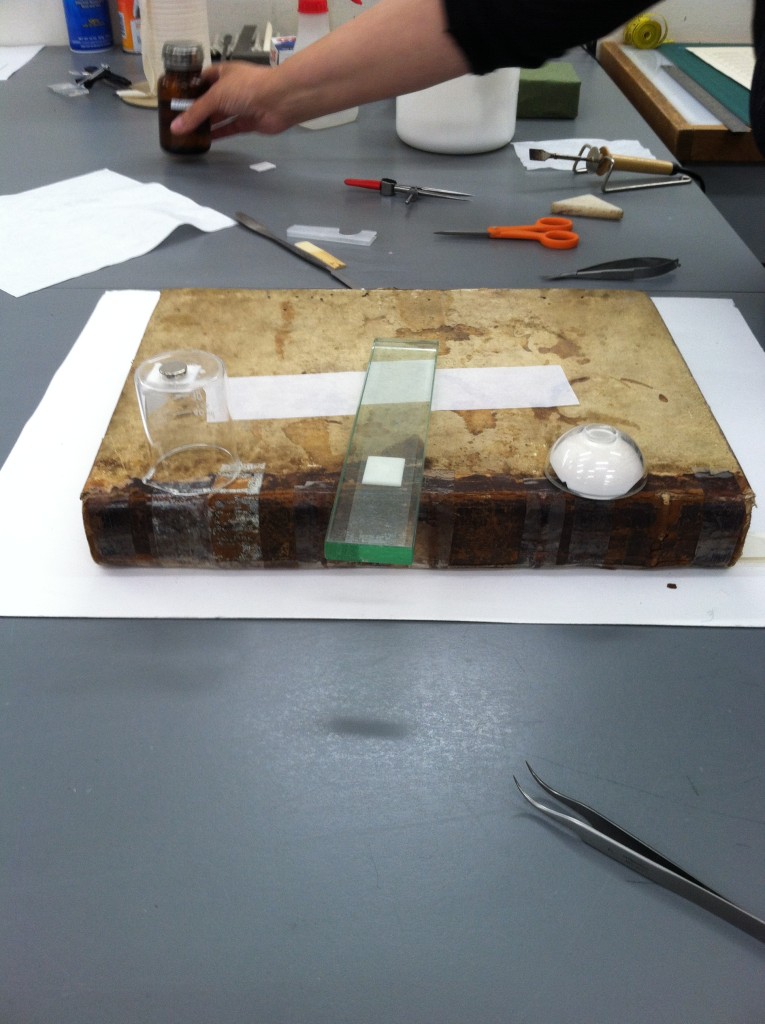
Left to Right: a solvent chamber, direct application of solvent-soaked blotter to tape, plaster chamber.
- Air pen – this technique has been discussed in this Conservation Conversations post.
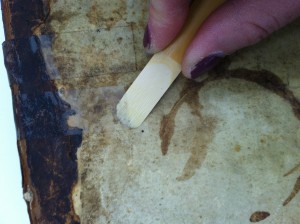
- Clarinet reed – Because the wood used to make reeds is so light, it can absorb liquid. The reed’s tapered, rounded tip is also a convenient shape to slip underneath tape. The reed can be soaked in solvent and then used to both loosen the adhesive and lift the tape at once. Make sure you have a stash of reeds on hand if you choose this technique, because the wood will quickly fray and become less effective at lifting.
Adhesive Removal
After the carrier is completely removed, there will most likely still be residual adhesive left on the object. A crepe square is usually the most effective way to remove the remaining adhesive. However, if using the crepe square damages the object further, and if there isn’t much staining or the staining isn’t an issue, it is possible to end the process here and simply cover up the adhesive. I have done this in two ways. The first is to use toasted cellulose powder, which can be baked for a range of time to match different paper hues (Marianna Crabbs touched on TCP in this Conservation Conversations post). Sprinkle the powder over the parts that are still sticky, and it will get rid of any residual tack. The same thing can be done with paper shavings of a similar color. Simply run a scalpel blade over the paper to make fine shavings and use that in the same way you would the cellulose powder. This is helpful if you have a paper that is colored.
Further reading:
Conservation Wiki, “Hinge, Tape, and Adhesive Removal.”
Merrily A. Smith, Norvell M. M. Jones, II, Susan L. Page and Marian Peck Dirda, “Pressure Sensitive Tape and Techniques for its Removal from Paper.”
Ted Stanley, “A Tool for Pressure Sensitive Tape Removal: The AirPencil.”
Tesa Tape, “Understanding the Basics of Pressure Sensitive Tapes.”
– Side note – this article contains the most frightening sentence ever written: “The pressure sensitive adhesive (PSA) tape market is projected to grow exponentially by the year 2020.”
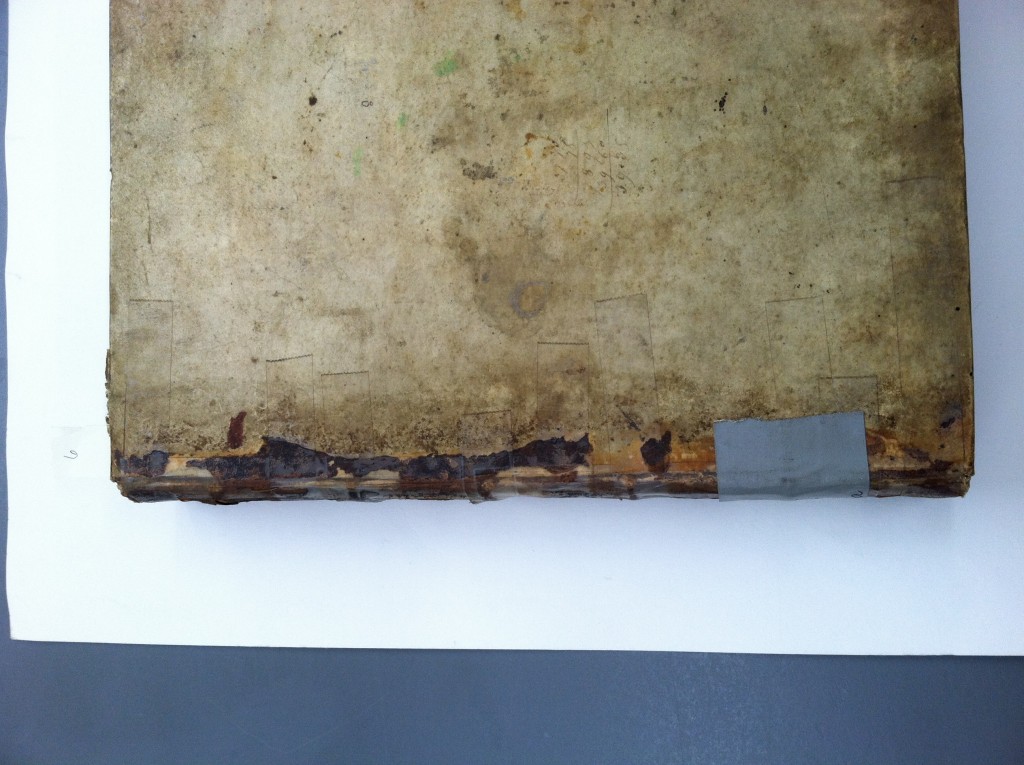
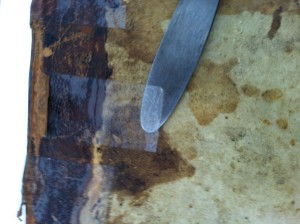

Finally! Something to do with old reeds!
Excellent post, a lot of techniques I’ve never tried before, thank you!