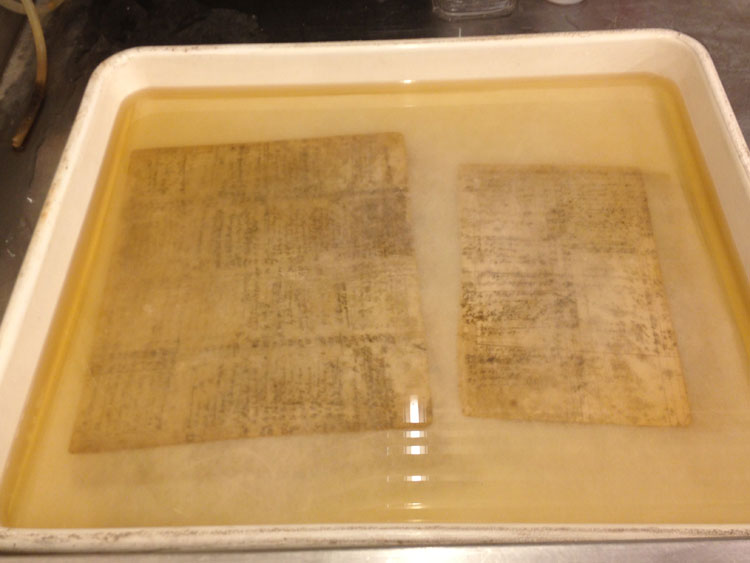
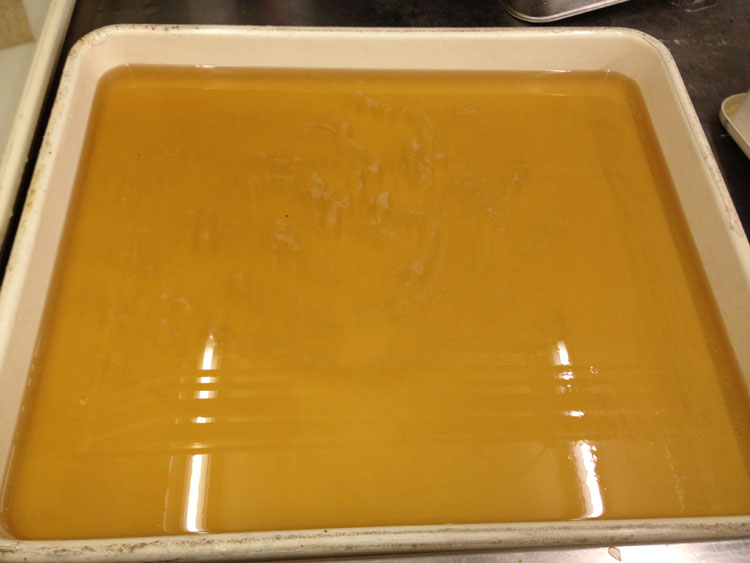
Everyone who washes paper is familiar with the dramatic color transformation that takes place on the page after it is removed from its final bath. The evidence is left in the washing tanks; the water turns an unsavory yellowed color, and the paper is, to a degree, returned to its former glory.
The concept of su-su is to harvest this colorant and use it to dull the often glaring white of repair tissues. It helps the eye transition over repairs to appreciate the elements of the original object, rather than the work that’s been done.
My first introduction to su-su was a brief mention during a paper repair workshop. My instructor, while addressing a question concerning blending and color matching to make repairs less obvious, told the class about this paper color extract. “Dirt paint,” she casually called it. It sounded like something slightly magical and a little counterproductive, though she assured us it was effective and safe for the paper. (For more information on the science behind su-su, check out the article by Peirs Townsend titled “Toning with ‘Paper Extract’” in The Paper Conservator, Vol. 26 (2002) 21-26.)
The concept of su-su lingered in my mind. It came up in conversation at my bindery every once in a while, so it seemed it was on everyone else’s minds, too. “Hey, you remember that su-su coloring? How does that work again?” and “Have you tried to make it yet?” But for one reason or another, it wasn’t until a few years later that I actually got to produce it myself.
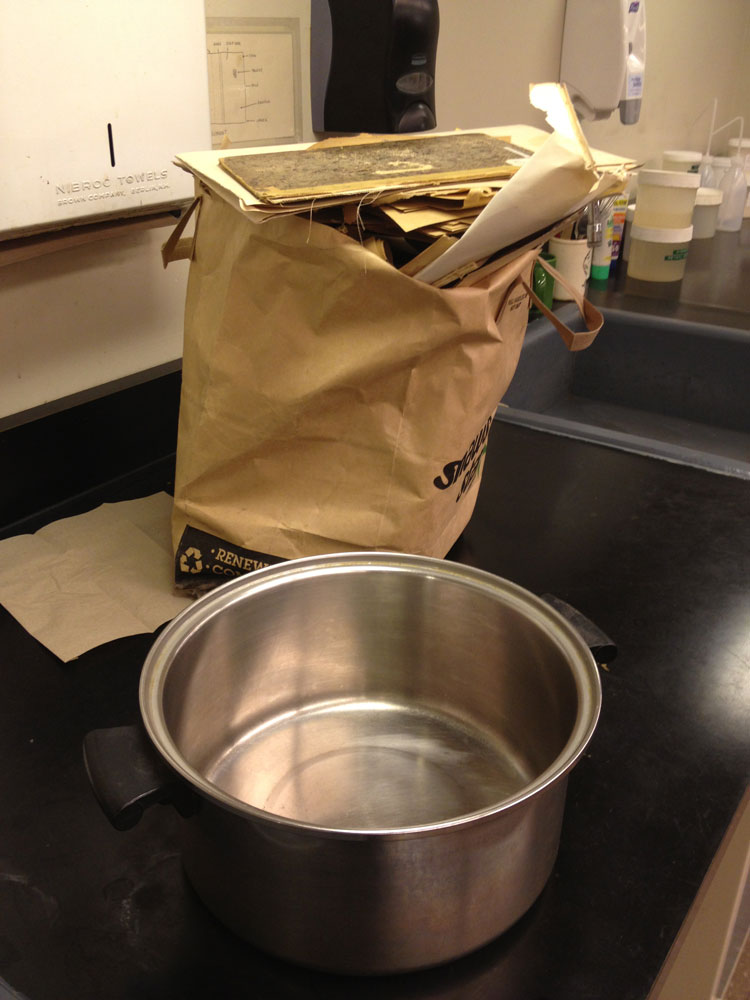
The first step in creating su-su is to gather acidic papers that won’t be missed. Scour what your library is discarding for those telltale brittle yellow pages. The conservation department where I was working when I made my su-su had been saving discarded covers, endpapers and other scraps for years just for this occasion.
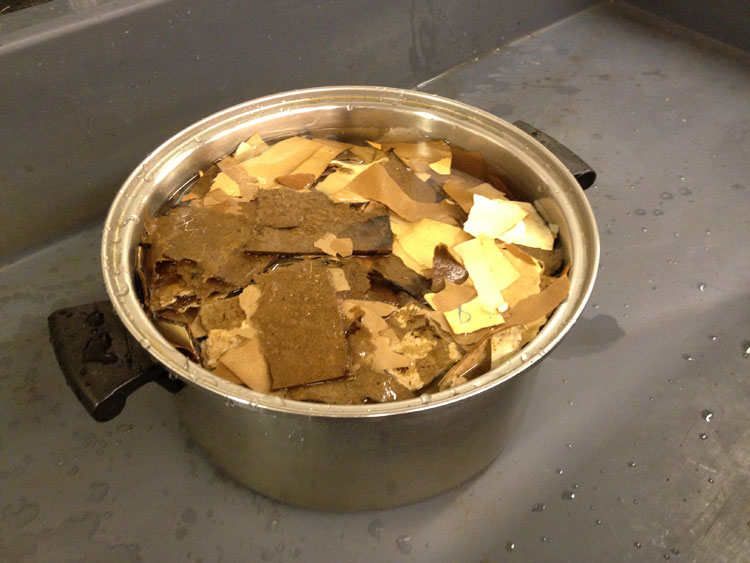
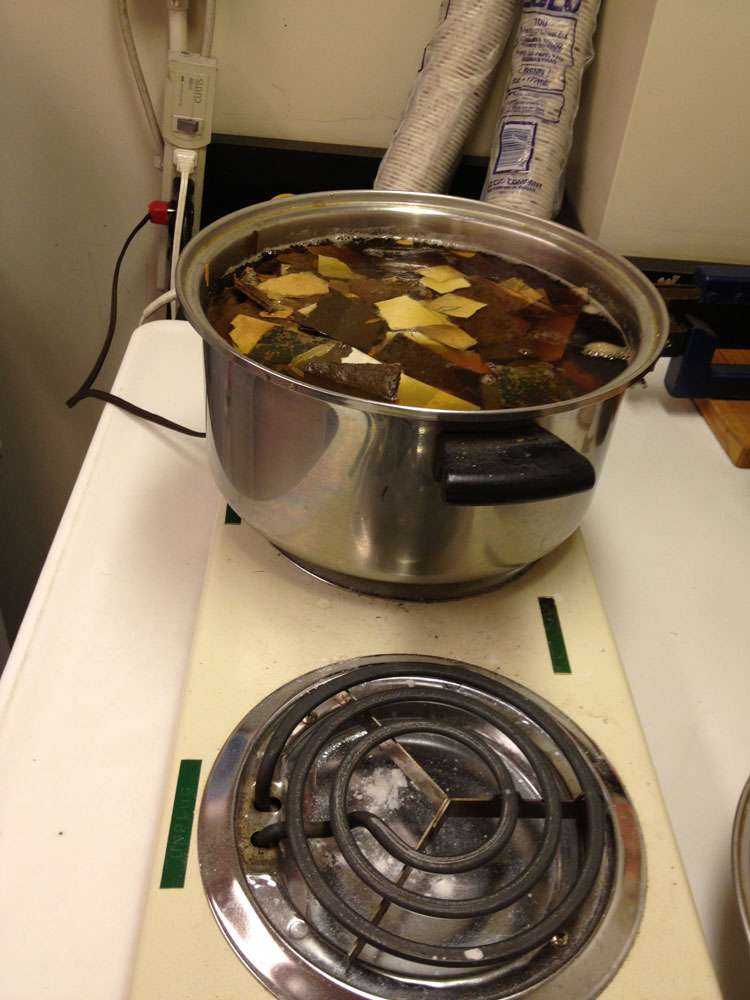
We filled a half gallon pot with acidic paper, breaking it up into small pieces as we went to increase surface area. After the pot was about three quarters full, we added water.
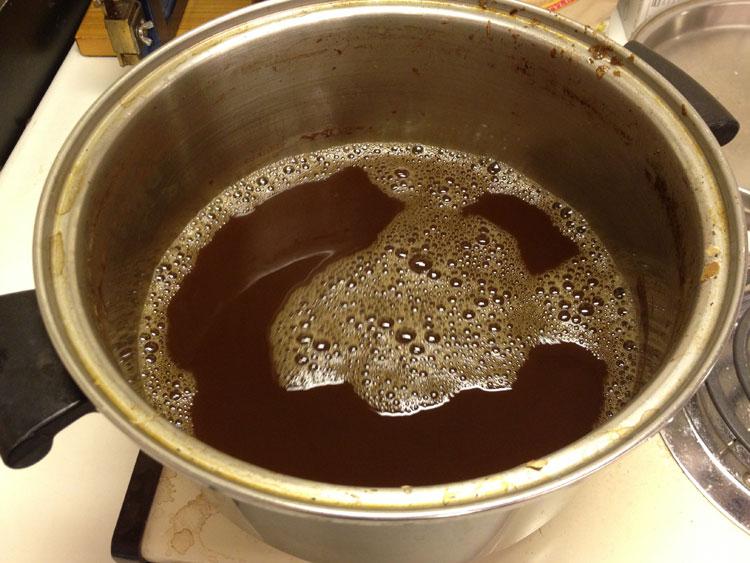
We set the concoction on high heat over our small stove until it came to a boil. Once it was hot enough, we turned it down to a low simmer and let it cook for several hours, stirring occasionally. The water took on first that yellow color, then started to darken as it concentrated.
After a few hours, we used tongs to remove the large pieces of pulp, and poured it through a strainer to remove the smaller particles. Then it was back to the stove for more simmering.
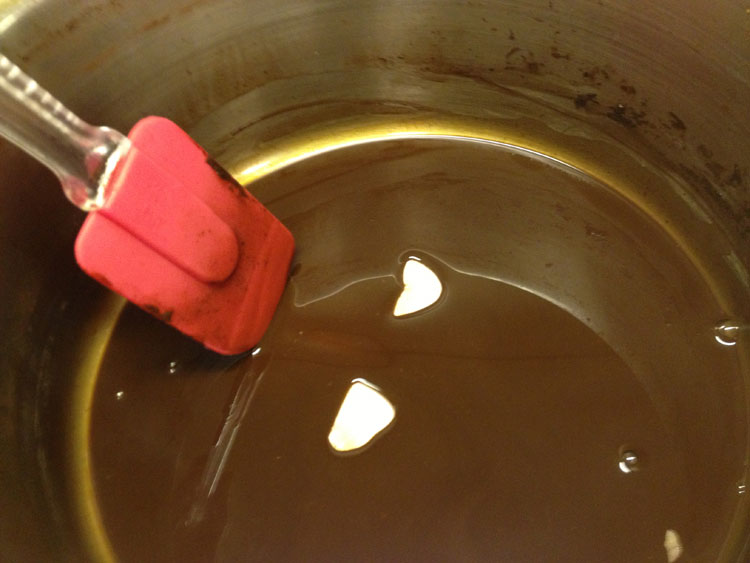
The dark brown liquid soon cooked off to create a viscous syrup, which we stirred regularly to prevent burning, just as you would while cooking chocolate.
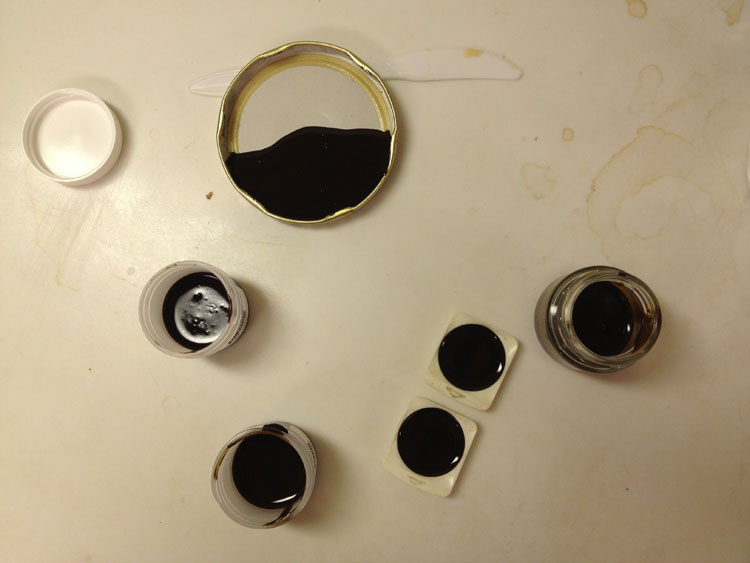
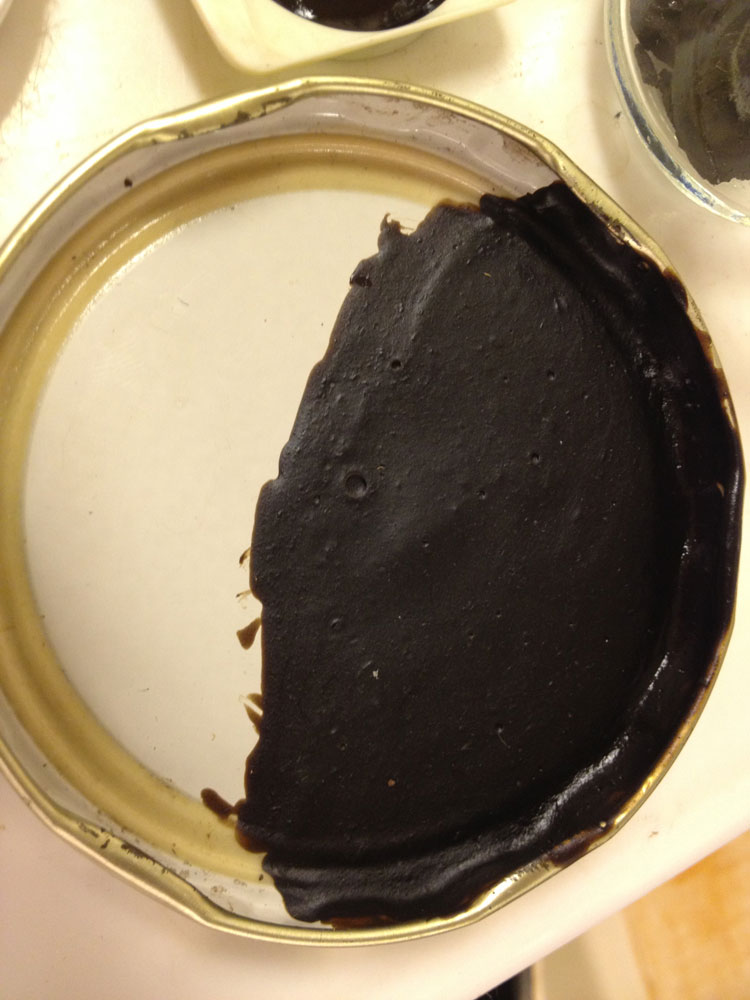
We siphoned off the syrup into various shallow containers so the last bit of moisture would evaporate quickly. We mostly used the lids of small mason jars and some watercolor trays.
Since several of our containers were made of plastic, we couldn’t put them back over the stove at this point. By this time, making the su-su had taken several hours of work, though often with on-and-off attention. We elected to allow nature to take its course and let the small cakes dehydrate on their own while we worked on other projects, although we did occasionally take a moment to help them along with the assistance of a hairdryer.
This is the result.
Though Townsend’s article claims that the resulting colorant is non-acidic, it’s always best to be sure of your medium before you use it on actual repairs. Test out the acidity of your result by painting the tint over a pH strip, and then take appropriate measures to balance out the pH of the tint before applying it to tissue. This batch was fairly neutral when tested, so I can use it without alteration.
Su-su has become a regular part of my repairs. Whenever I pack a tool roll for conservational trips, it’s one of the first things to go in, right alongside my favorite bone folders and lifting knives. From my experience, a little goes a long way, and I anticipate this batch lasting me for quite a while.
