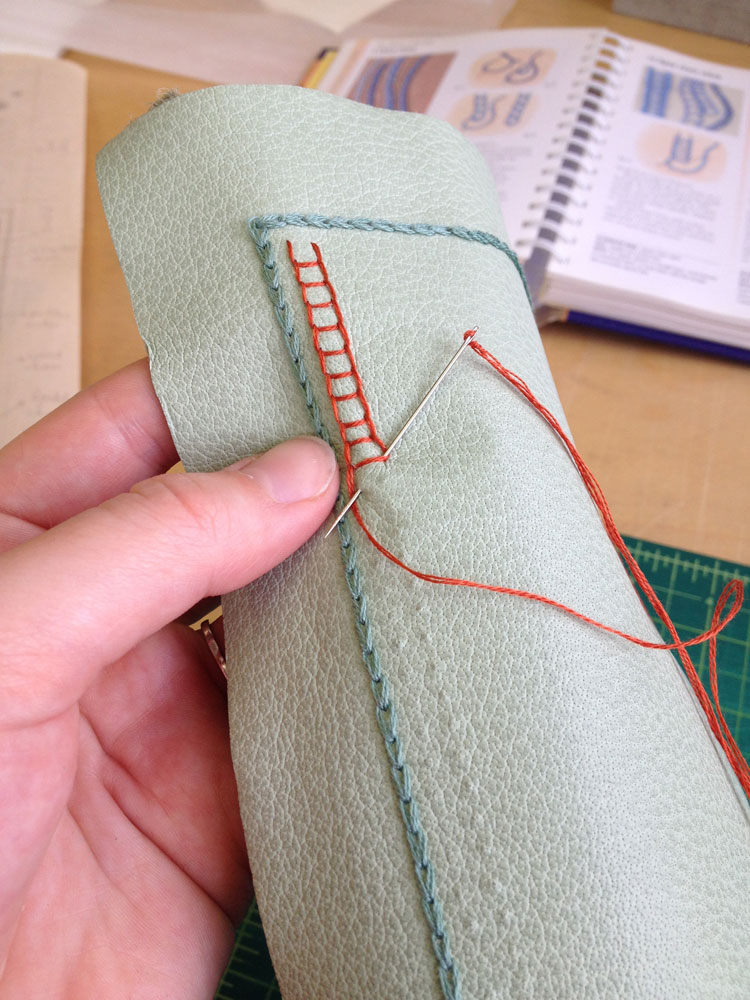
Since my last embroidered leather binding, I’ve had the urge to experiment with various traditional stitches in leather. Through my experiments I aimed to find which stitches would translate the same way on leather as they do on fabric. In addition, I wanted to know if I could easily keep a stitched line straight during the covering process.
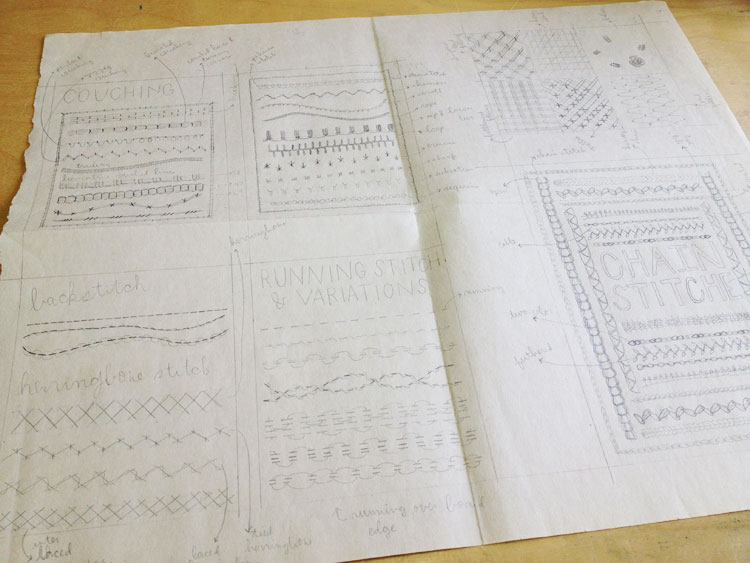
I began with a rough sketch of each sampler, a total of six. The stitches I chose were divided into categories (such as chain stitches, variations on the back stitch, couching, etc.) and then laid out onto each sampler sketch. I choose to experiment on both goatskin and buffalo which were pared down to the thickness I use when covering a full leather fine binding (~.5 for the buffalo and .7 for the goat).
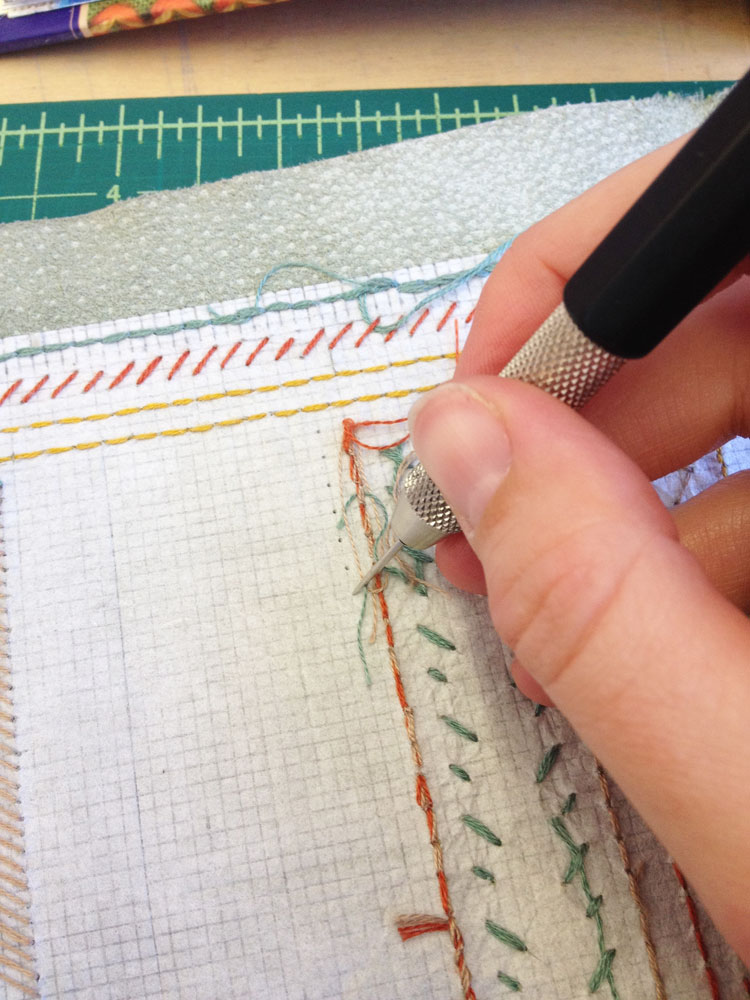
Then, I cut down a piece of Japanese tissue to the size of the plaquette board and adhered it to the center of the leather. Once the pieces were dry, I proceeded to draw out a 1 x 1 mm square grid onto each sampler. This grid made it incredibly easy to lay out the stitches and to make sure I kept them even and straight. Before I began a stitch, I figured out the hole placement and spacing. Then with my pin vise I made pin-pricks through the leather. Laying out the holes beforehand made the act of stitching easier and faster.
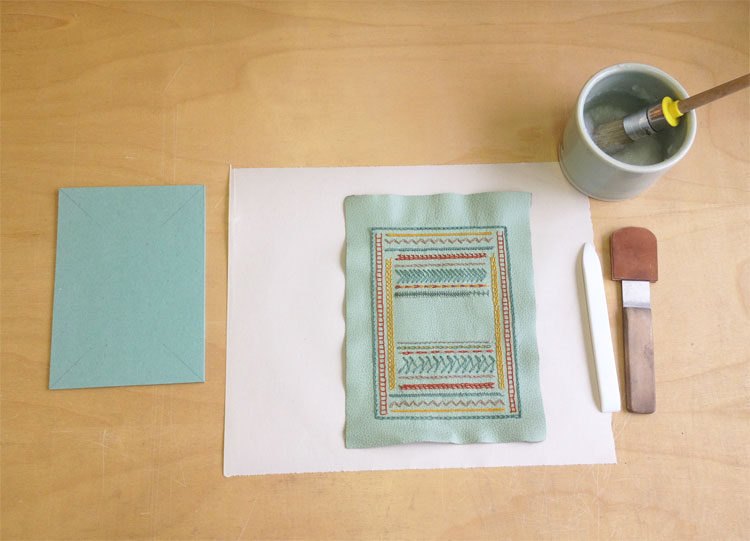
After completing all of the stitches on a sampler, I prepped the leather for covering. Excess strings were trimmed and pasted down in line with stitches on the backside. This way any strays would not be visible on the front side of the leather. Once I readied my bench with the proper tools, the leather pieces were pasted up with wheat starch paste and attached to the board. After folding over the turn-ins and working down the corners, I stuck the plaquette under a press between foam and press boards. The foam pushes down the leather around the stitches much easier and quicker than I could.
When working with embroidered leather, I don’t wet out the piece before pasting up as I normally would. I do however add some moisture to the turn-ins to aid in the covering process.


You always choose them most lovely colors! I would love to see this mounted and finished. Very fine stitching!
Love! More…more…more…I have a ton of embroidery floss and leather scraps that I’m trying to figure out what to do with. This is inspiring.
Very beautiful! It’s look unique and special. Thank you for this post! May I ask what the thickness of the thread you used?
Oh, thank you. On the sampler, I used 2ply cotton embroidery floss.